Manage Product Tags in Medusa Admin
In this guide, you’ll learn how to manage product tags in the Medusa Admin.
View Product Tags#
Product tags allow you to group products in your store by common tags. For example, you can create tags for "electronics" or "clothing" and assign them to products.
To view product tags in your store, go to Settings → Product Tags. Here, you can see a list of all the product tags you have set up in your store. You can also search, filter, and sort the product tags to find the one you are looking for.

Create Product Tag#
To create a product tag:
- Go to Settings → Product Tags.
- Click the Create button in the main section's header.
- In the form that opens, enter a value for the product tag in the Value field. For example, "Digital".
- Once you're done, click the Create button.

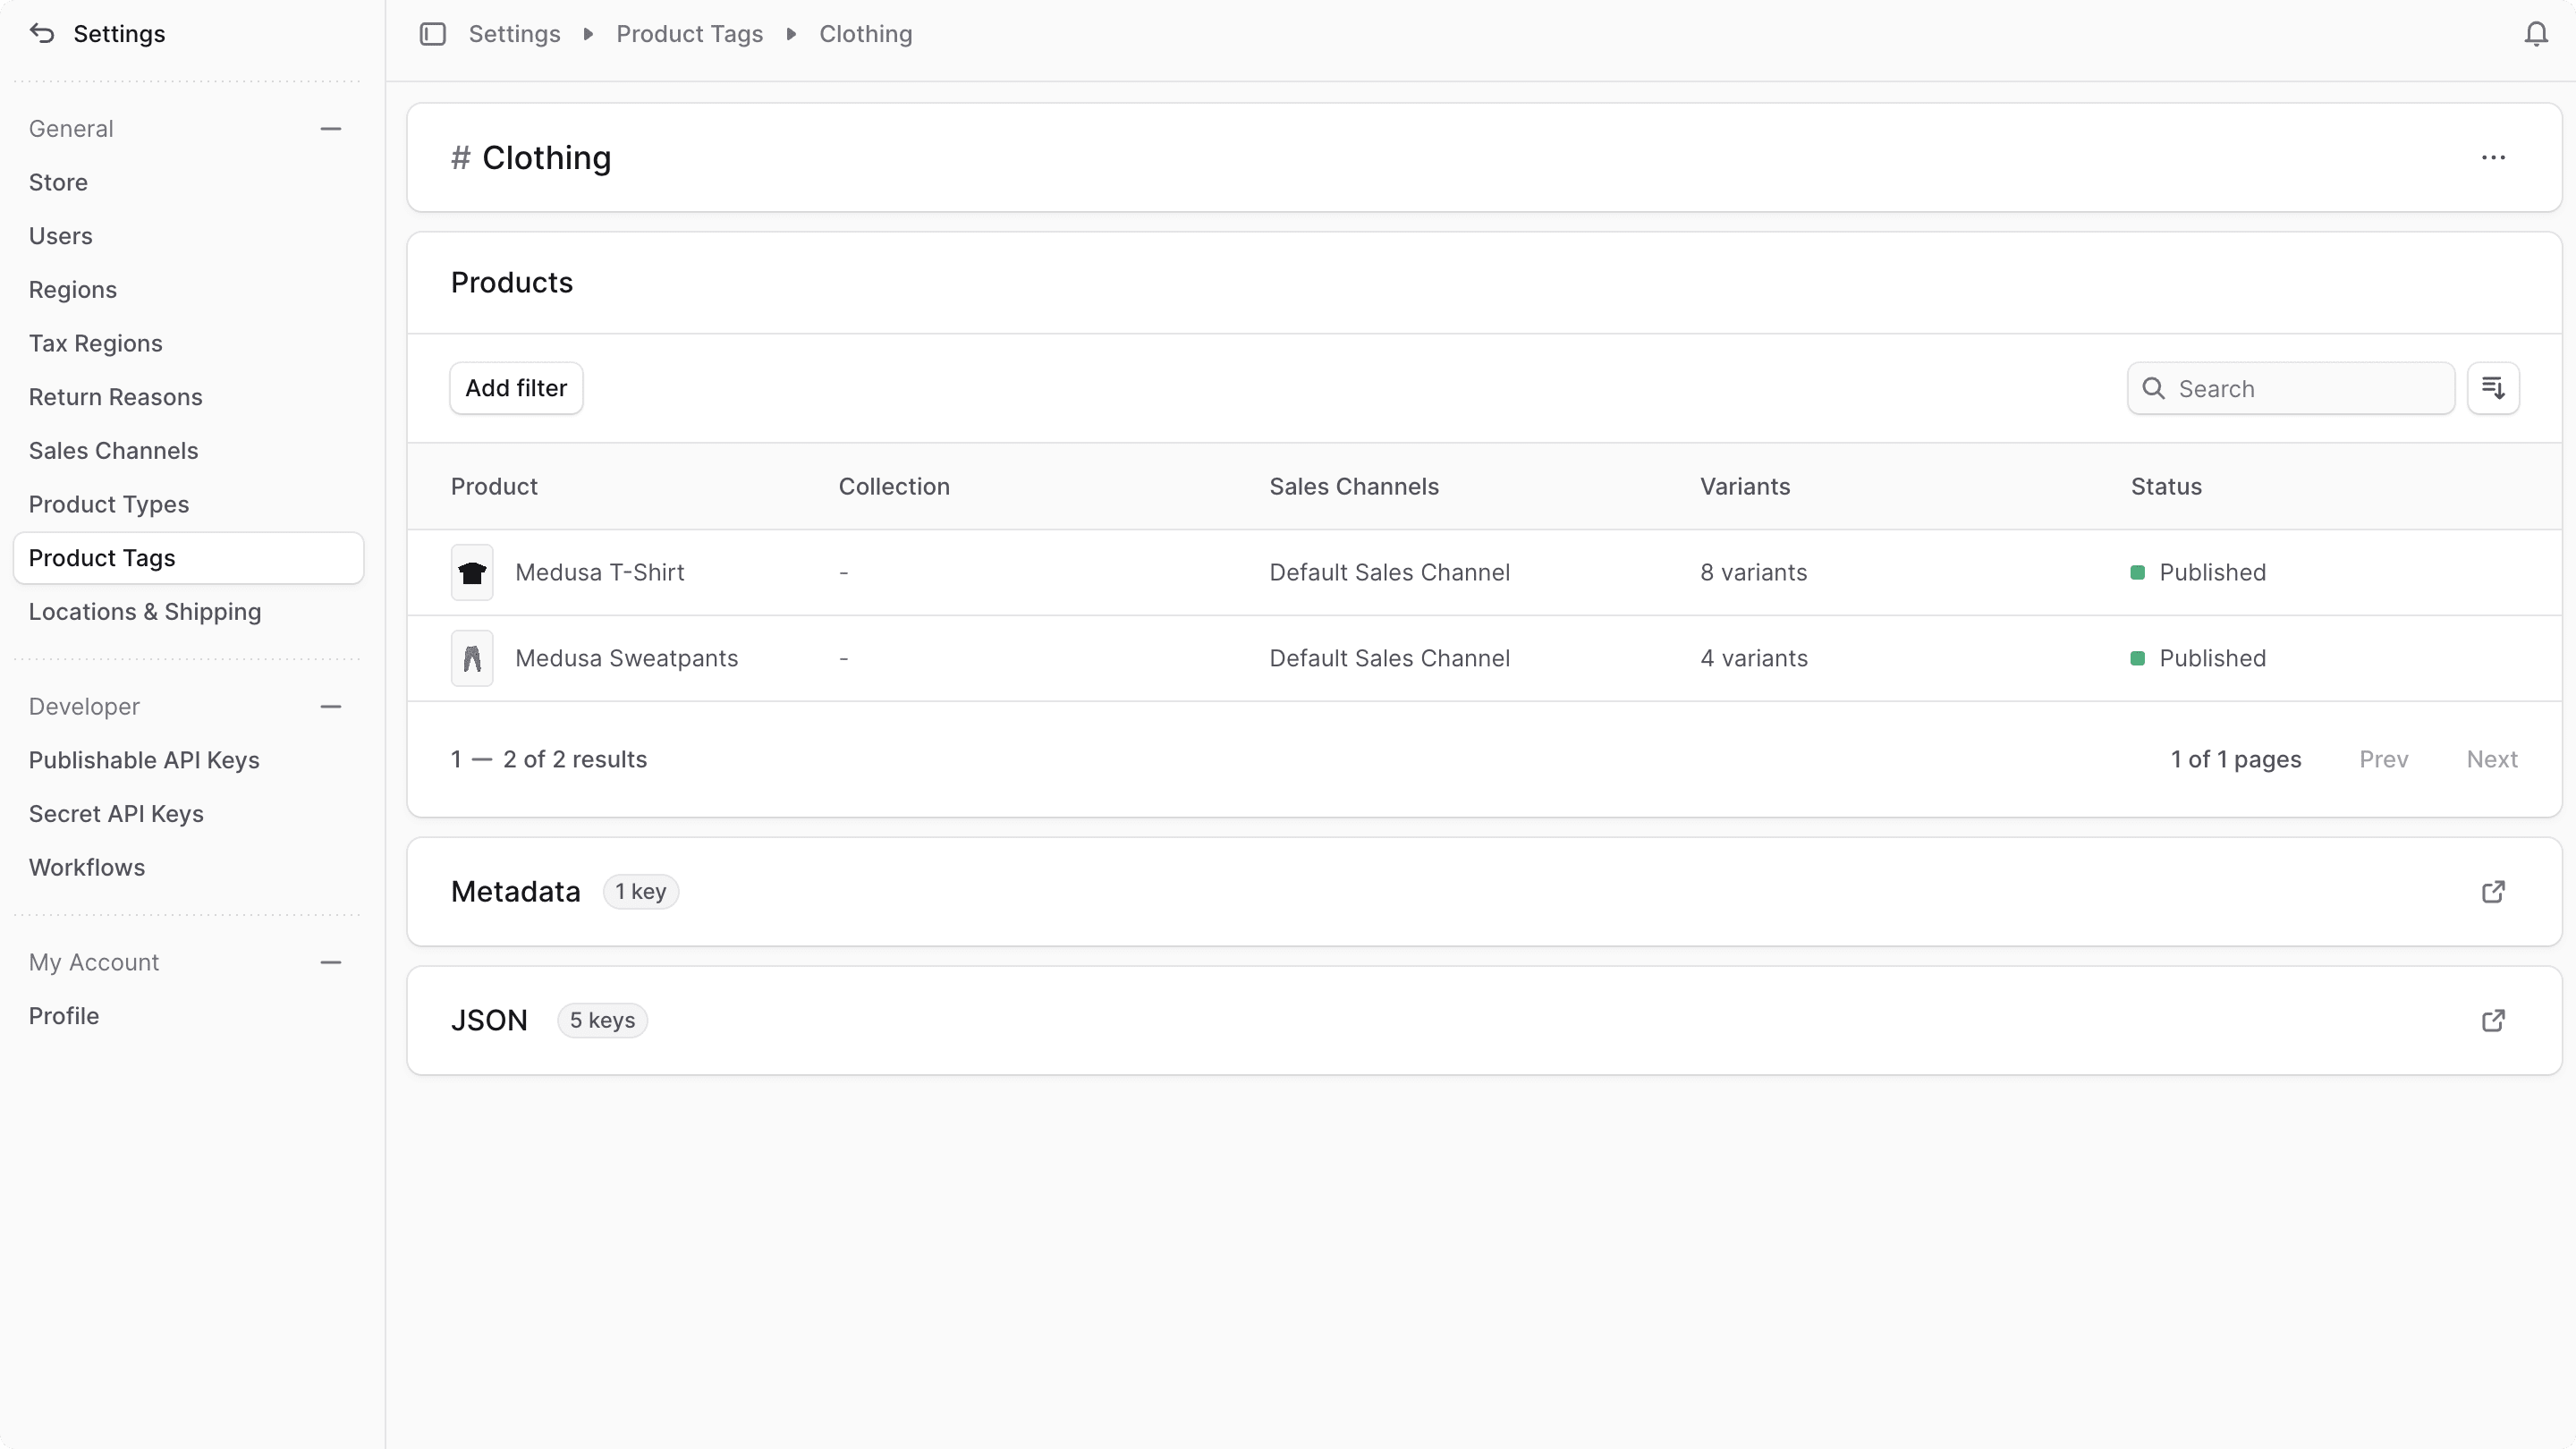
View Product Tag Details#
To view the details of a product tag:
- Go to Settings → Product Tags.
- Click on a product tag from the list.
This opens the product tag's details page where you can also manage the product tag and its metadata.
Edit Product Tag Details#
To edit the details of a product tag:
- Go to the product tag's details page.
- Click the icon in the first section's header.
- Choose Edit from the dropdown.
- In the side window that opens, you can edit the product tag's value.
- Once you're done, click the Save button.

Manage Product Tag's Translations#
Product tags can be translated to locales (languages) supported by your store. You can either manage translations in bulk, or manage translations for an individual product tag from its details page.
To manage translations for the product tag:
- Click on the icon in the first section's header.
- Choose "Manage translations" from the dropdown.
- In the bulk editor that opens, you can view and edit translations for the product tag's value in each locale supported by your store.
- To edit text with multi-line support, double click the respective cell to open a larger text area.
- Once you're done editing, click the Save button to apply the changes.
Manage Products in Tag#
You can manage the tag of a product in the product's details page.
Manage Product Tag Metadata#
Metadata is custom data that can be associated with the product tag in key-value pairs. This is usually used by developers for custom integrations or to store additional information about the product tag.
To edit the product tag's metadata:
- Click the icon in the "Metadata" section.
- In the side window that opens:
- Manage the key-value pairs in the table.
- To add a new row of key-value pairs before or after a row:
- Hover over the row and click the icon at its end.
- Choose "Insert row above" or "Insert row below" from the dropdown.
- To delete a row of key-value pairs:
- Hover over the row and click the icon at its end.
- Choose "Delete row" from the dropdown.
- Once you're done, click the Save button.
Delete Product Tag#
To delete a product tag:
- Go to the product tag's details page.
- Click the icon in the first section's header.
- Choose Delete from the dropdown.
- Confirm the deletion by clicking the Delete button in the pop-up.