Manage Inventory Items in Medusa Admin
In this guide, you’ll learn how to manage inventory items in the Medusa Admin.
Create Inventory Item#
To create an inventory item:
- Go to the Inventory page from the sidebar.
- Click on the Create button in the main section's header.
- The form that opens has two steps:
- Details step:
- Enter the inventory item's title and SKU in their respective fields.
- Optionally enter a description.
- If the inventory item shouldn't be shipped when its variant is purchased, toggle off the "Requires shipping" option. This is useful when the inventory item is a digital product, for example.
- Optionally add the inventory item's attributes, including width, length, height, weight, MID code, HS code, country of origin, and material.
- Once you're done, click the Next button.
- Availability step using the Bulk Editor:
- If you have locations in your store, which you can create in Settings, you can specify the inventory item's quantity in each location.
- Details step:
- Once you're done, click the Save button.

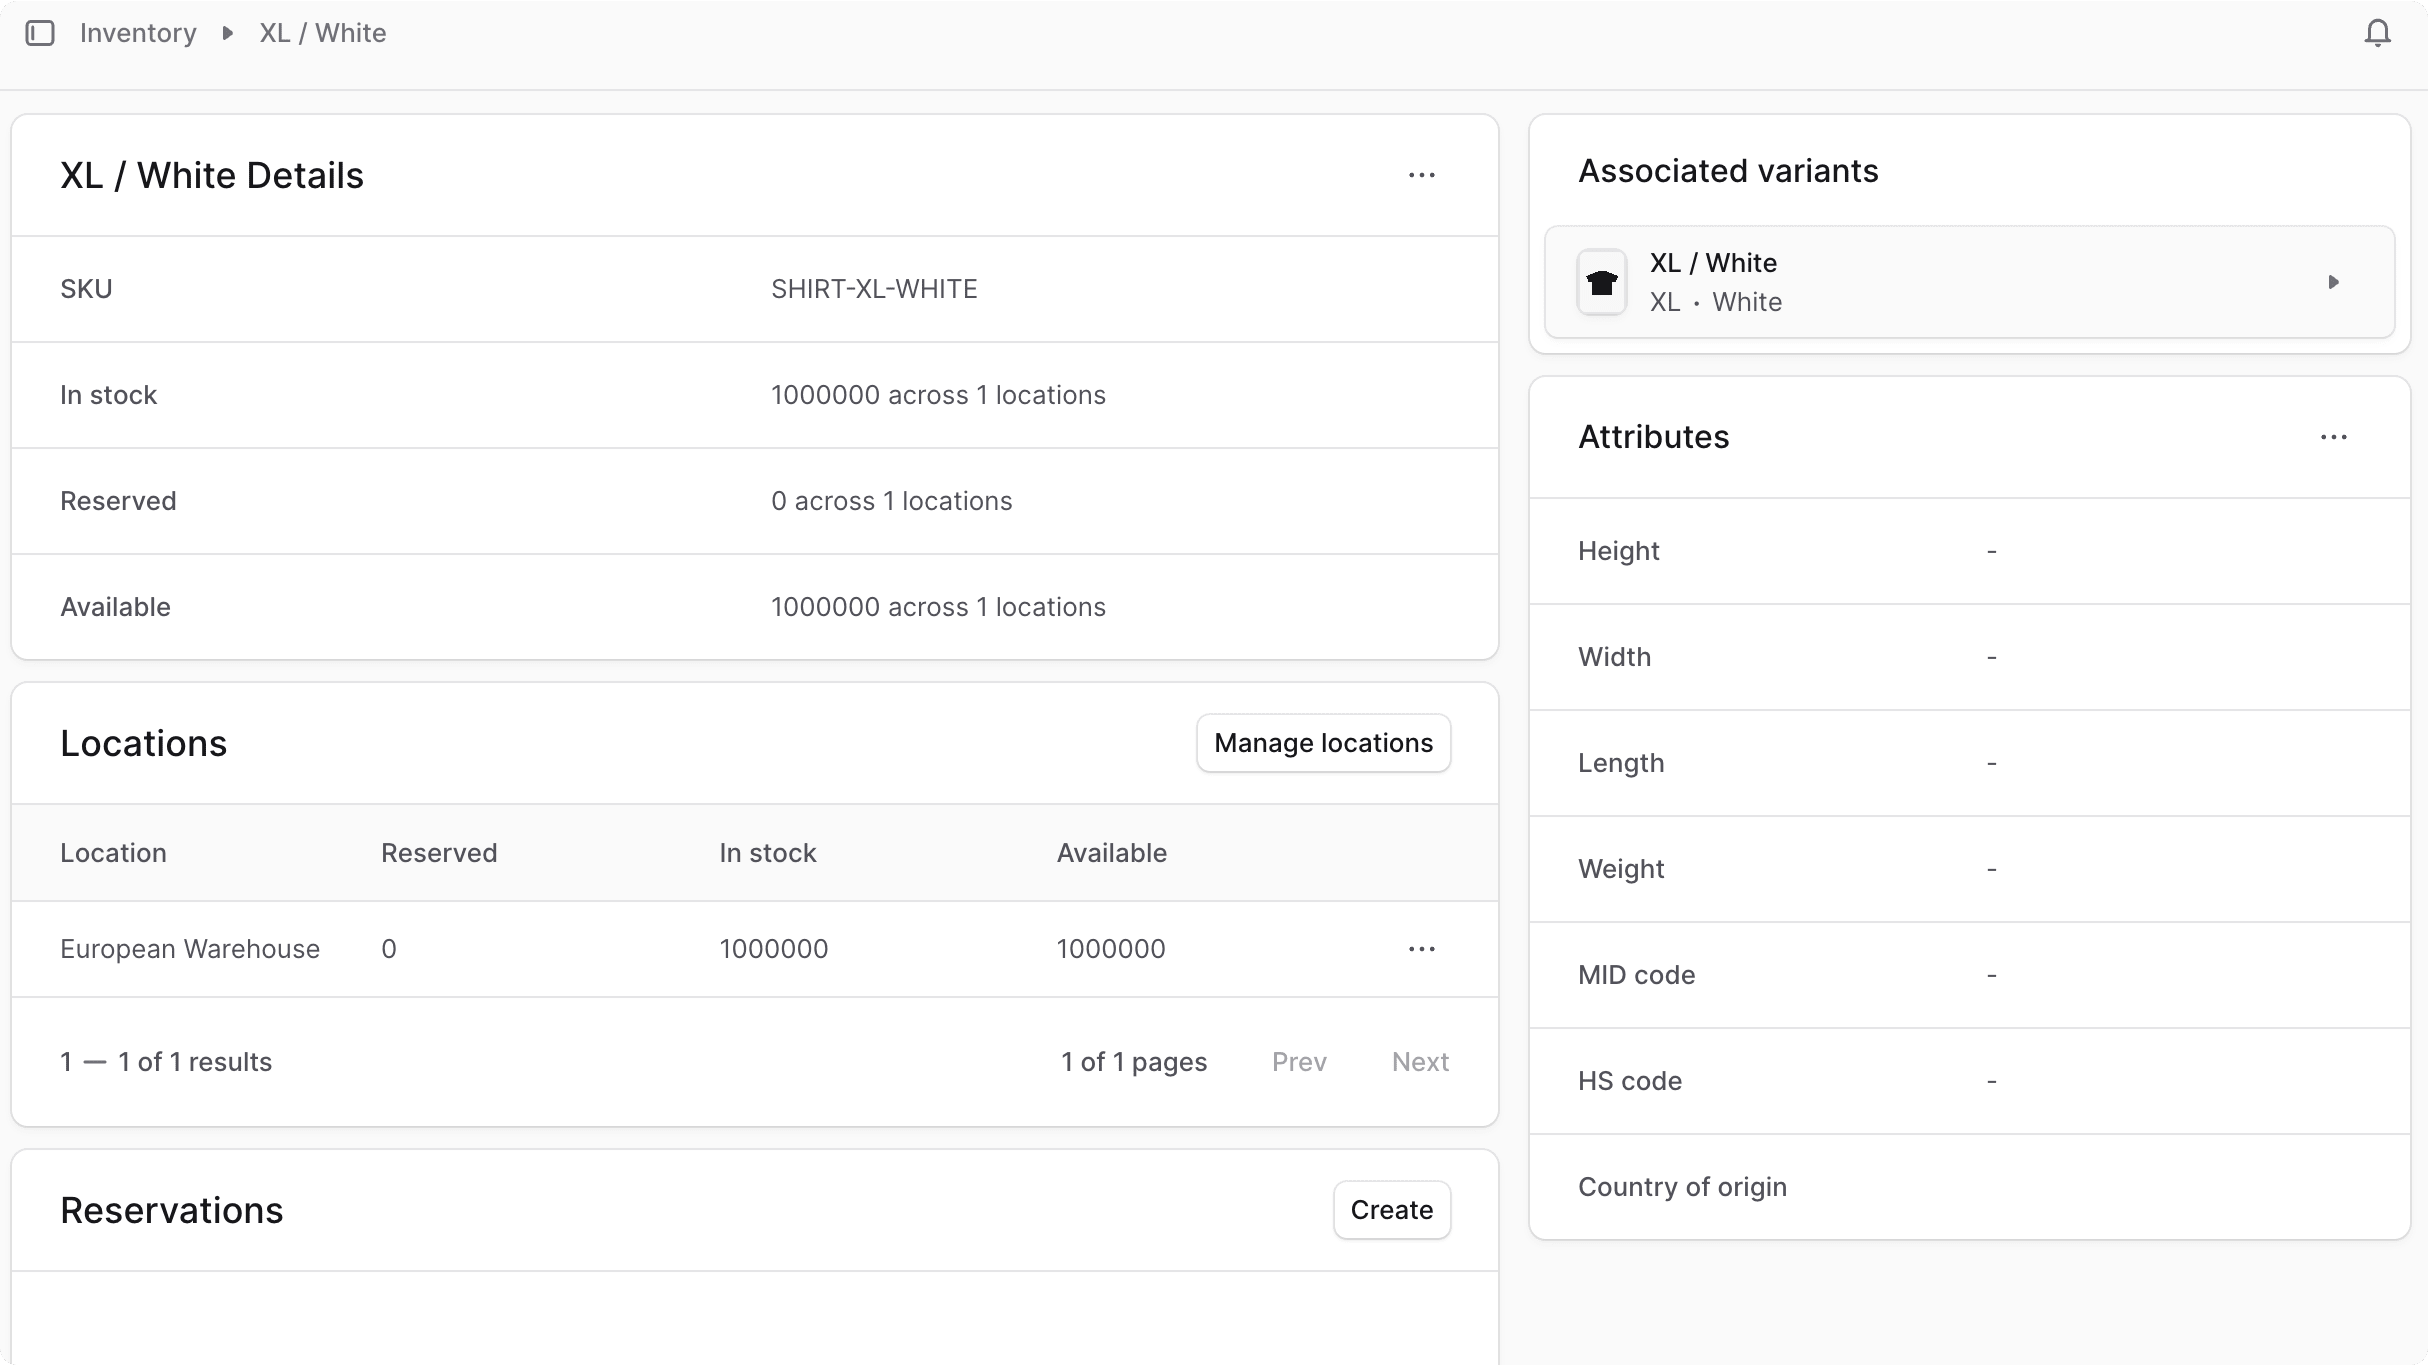
View Inventory Item Details#
To view an inventory item's details:
- Go to the Inventory page from the sidebar.
- Click on the inventory item you want to view.
Edit Inventory Item Details#
To edit an inventory item's details:
- Go to the inventory item's details page.
- Click the icon in the first section's header.
- Choose "Edit" from the dropdown.
- In the side window that opens, you can edit the inventory's title and SKU.
- Once you're done, click the Save button.

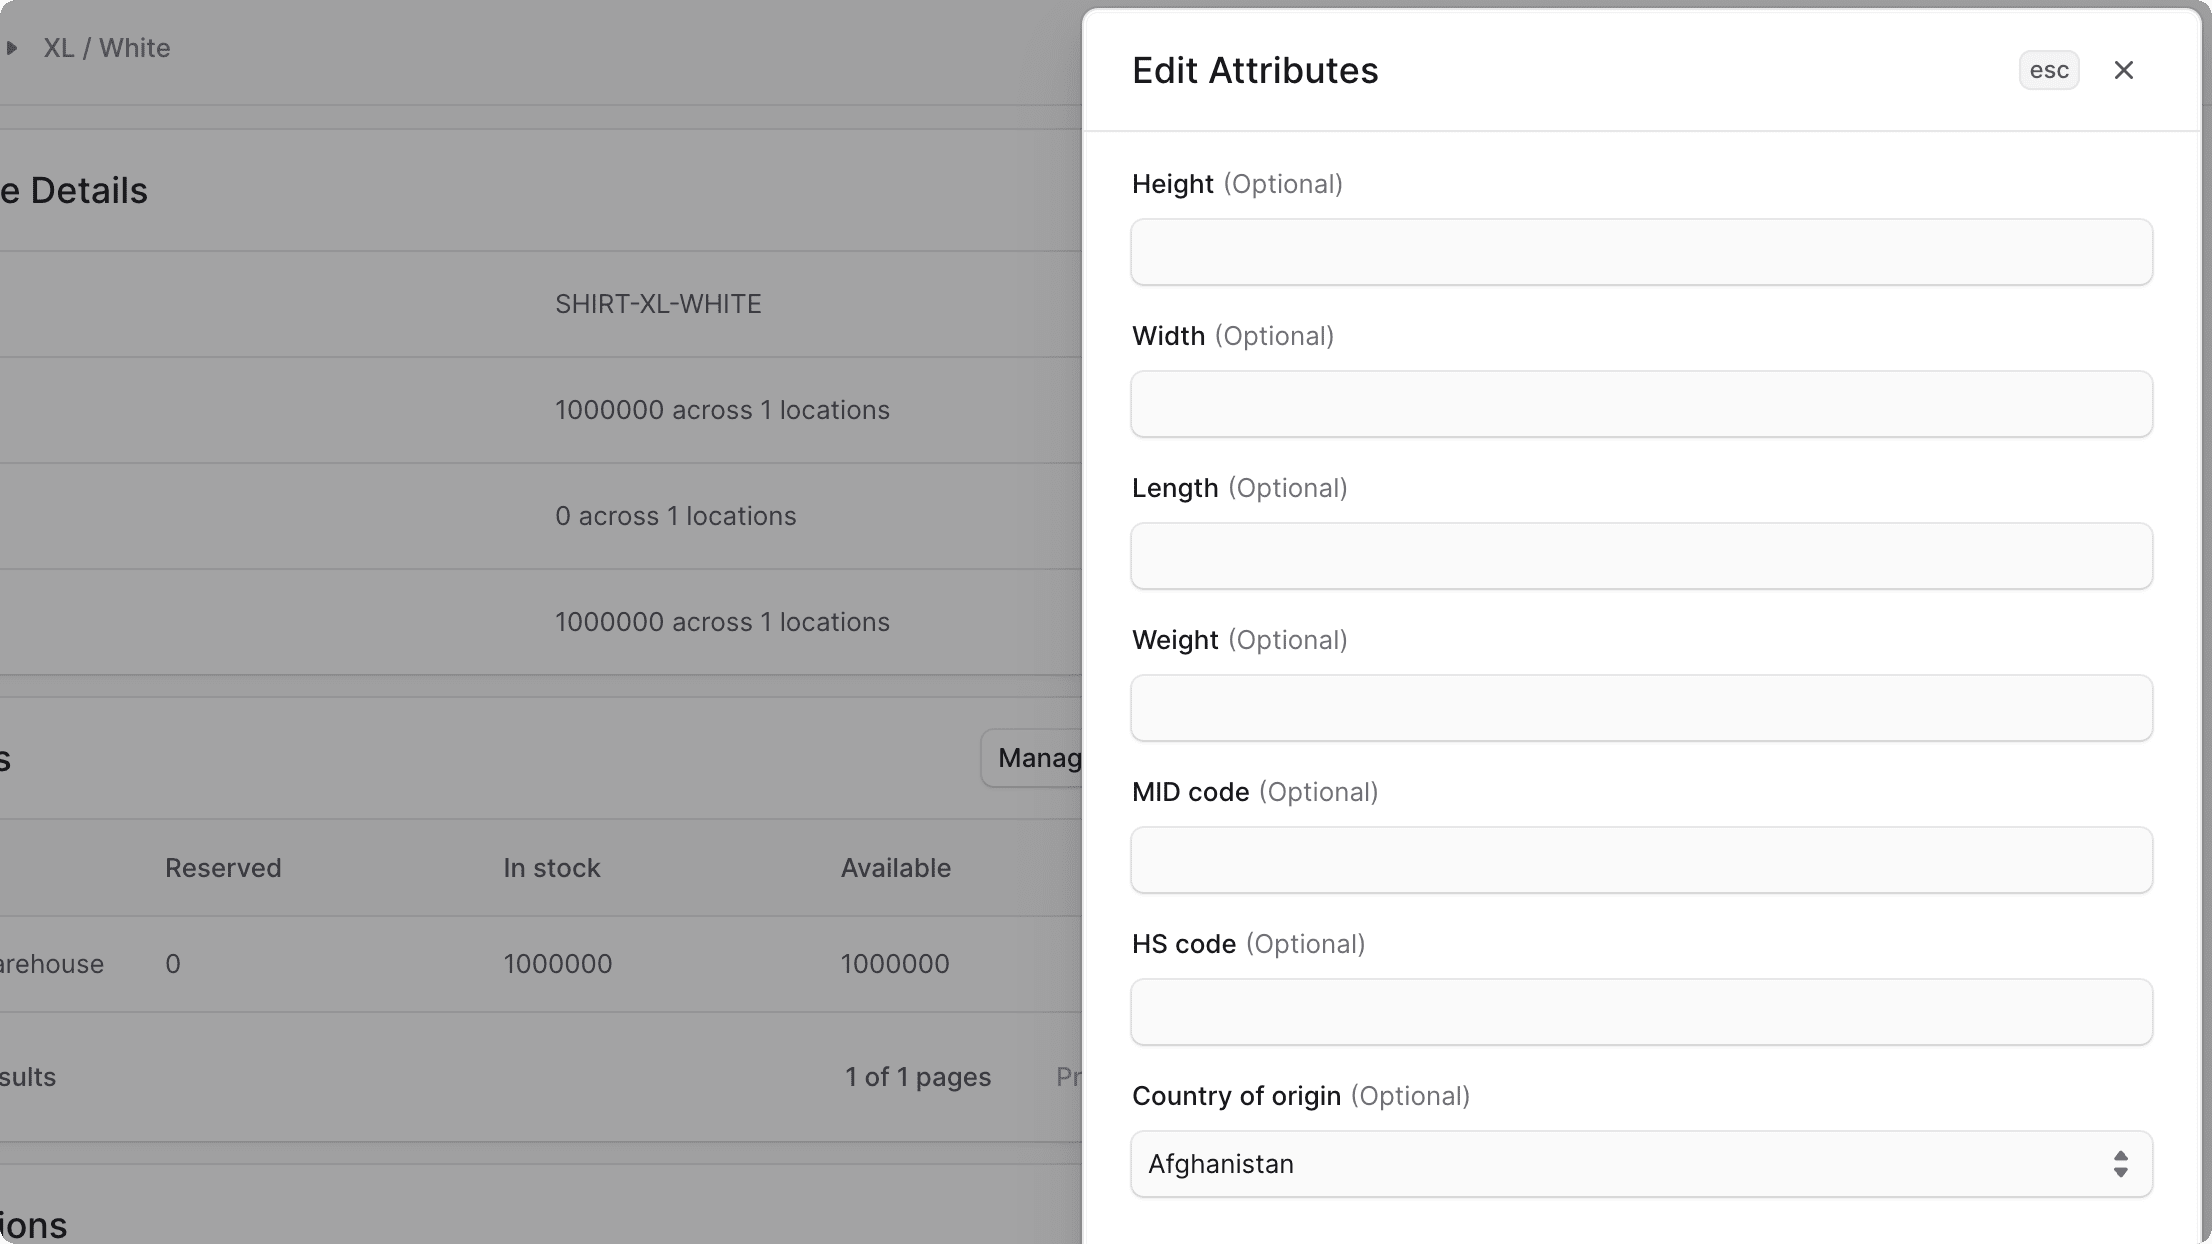
Edit Inventory Item Attributes#
To edit an inventory item's attributes, such as height and weight:
- Go to the inventory item's details page.
- Click the icon in the "Attributes" section's header.
- Choose "Edit" from the dropdown.
- In the side window that opens, you can edit the inventory item's height, width, length, weight, MID code, HS code, and country of origin.
- Once you're done, click the Save button.
Edit Inventory Item Metadata#
Metadata is custom data that can be associated with the inventory item in key-value pairs. This is usually used by developers for custom integrations or to store additional information about the inventory item.
To edit the inventory item's metadata:
- Go to the inventory item's details page.
- Click the icon in the "Metadata" section.
- In the side window that opens:
- Manage the key-value pairs in the table.
- To add a new row of key-value pairs before or after a row:
- Hover over the row and click the icon at its end.
- Choose "Insert row above" or "Insert row below" from the dropdown.
- To delete a row of key-value pairs:
- Hover over the row and click the icon at its end.
- Choose "Delete row" from the dropdown.
- Once you're done, click the Save button.
Manage the Inventory Item's Availability#
You can manage which locations the inventory item is available in, the quantity available in each location, and the item's reservations.
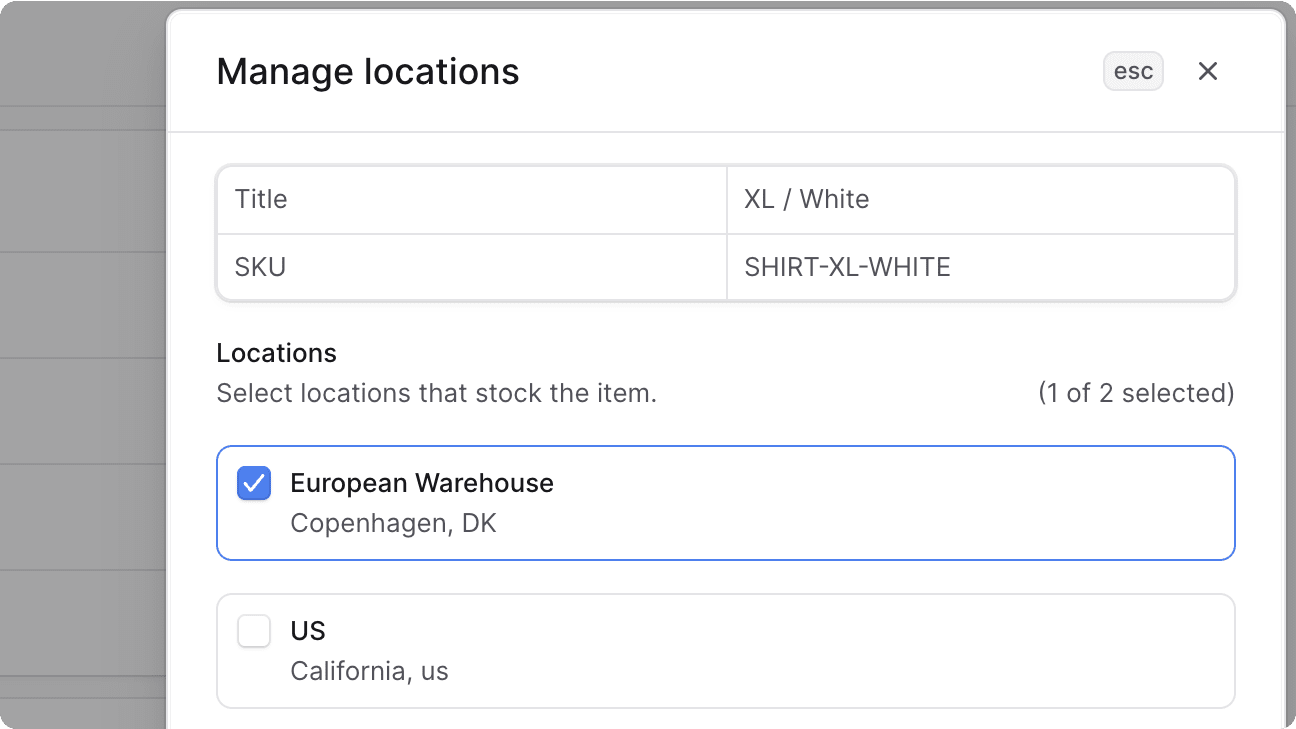
Manage Locations Availability#
To manage the locations that an inventory item is available in:
- Go to the inventory item's details page.
- Click the "Manage locations" button in the "Locations" section's header.
- In the side window that opens, you can check or uncheck any location that the item is available in.
- Once you're done, click the Save button.
Manage Quantity Availability#
To manage the in-stock quantity of an inventory item in a location:
- Go to the inventory item's details page.
- In the "Locations" section, find the location you want to edit the in-stock quantity in, and click the icon at its end.
- Choose "Edit" from the dropdown.
- In the side window that opens, you can edit the inventory item's in-stock quantity in that location.
- Once you're done, click the Save button.

Manage Inventory Item's Reservations#
An inventory item may have reservations when a variant associated with it has been purchased but haven't been fulfilled yet. The reservation ensures that the required quantity is available when the order is fulfilled.
You can manage all reservations from the Reservations page. You can also manage the reservations of a specific inventory item from the inventory item's details page.
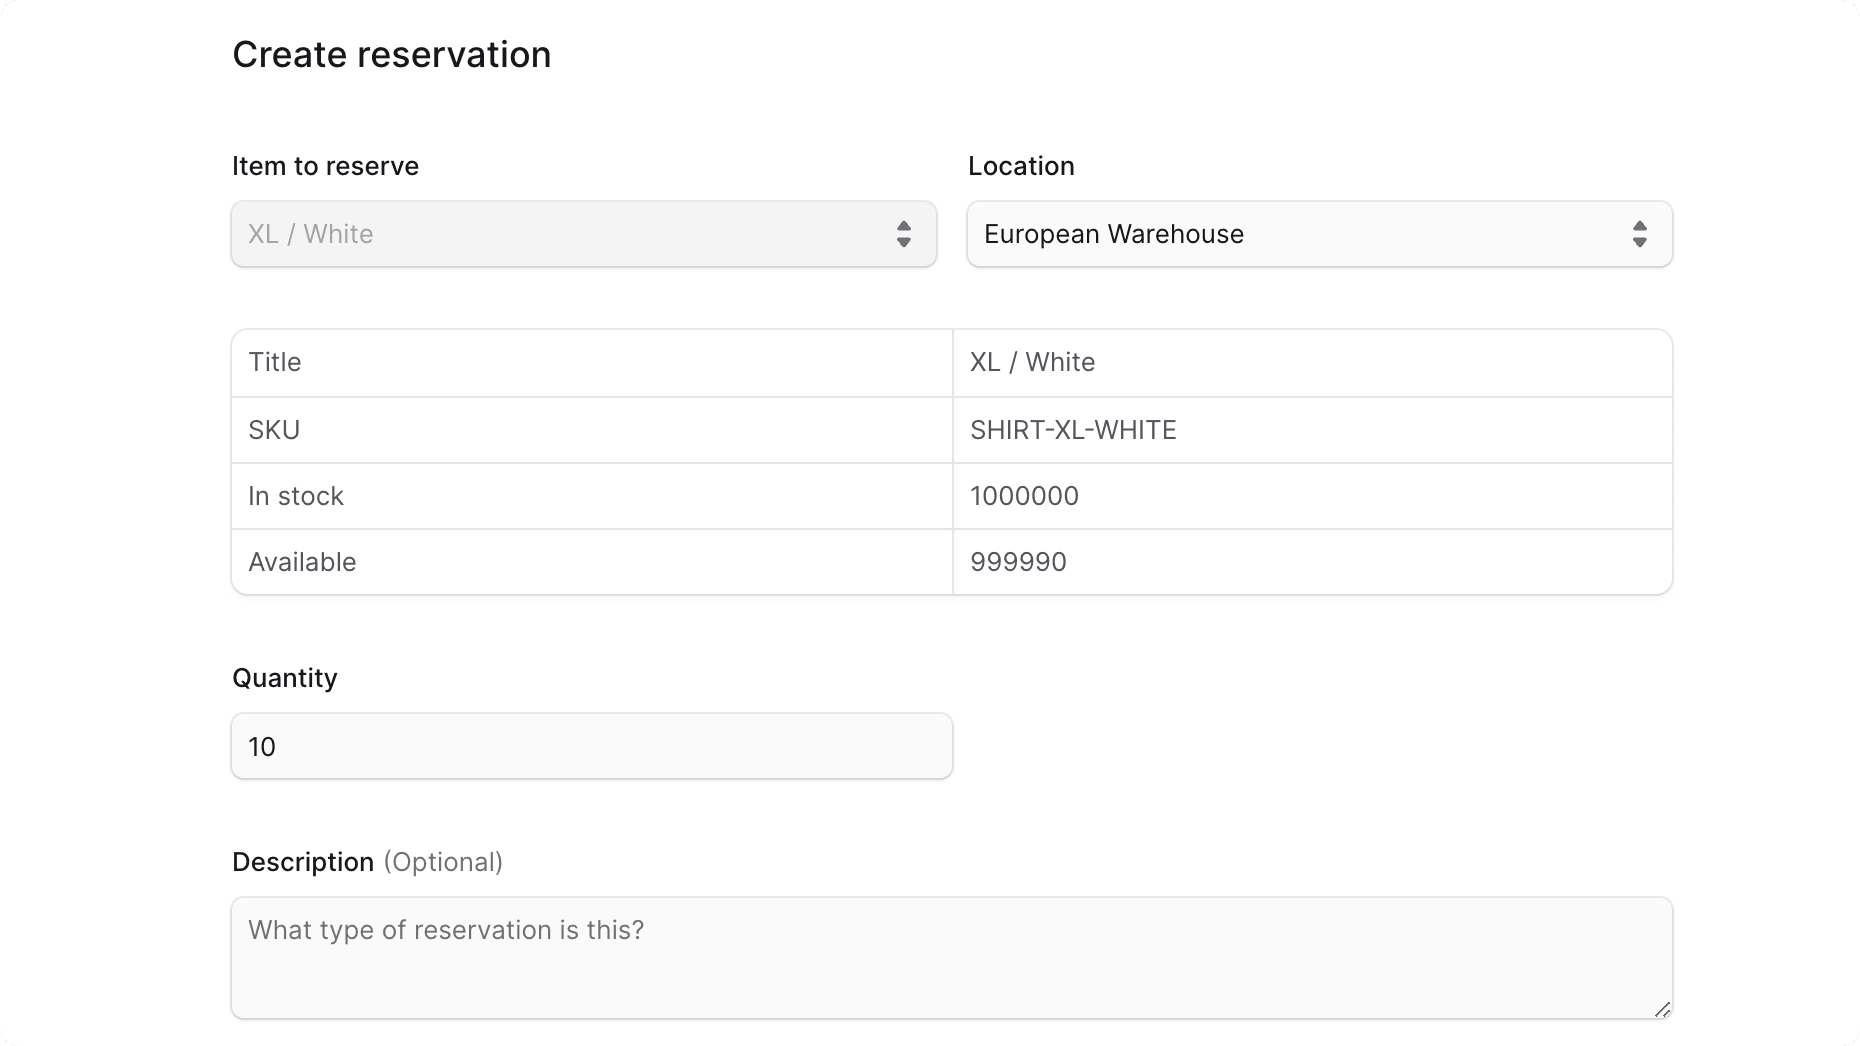
Create Reservation for Item#
To create a reservation for an inventory item:
- Go to the inventory item's details page.
- In the "Reservations" section, click the "Create" button.
- In the form that opens:
- For the Location field, choose the location to reserve the item in.
- After you choose the location, enter the quantity to reserve in the Quantity field.
- The table above the field shows you how many available quantities of the item in the chosen location. When you make changes to the Quantity field, the availability will be updated in the table to reflect the change.
- Optionally specify a description for the reservation.
- Once you're done, click the Create button.
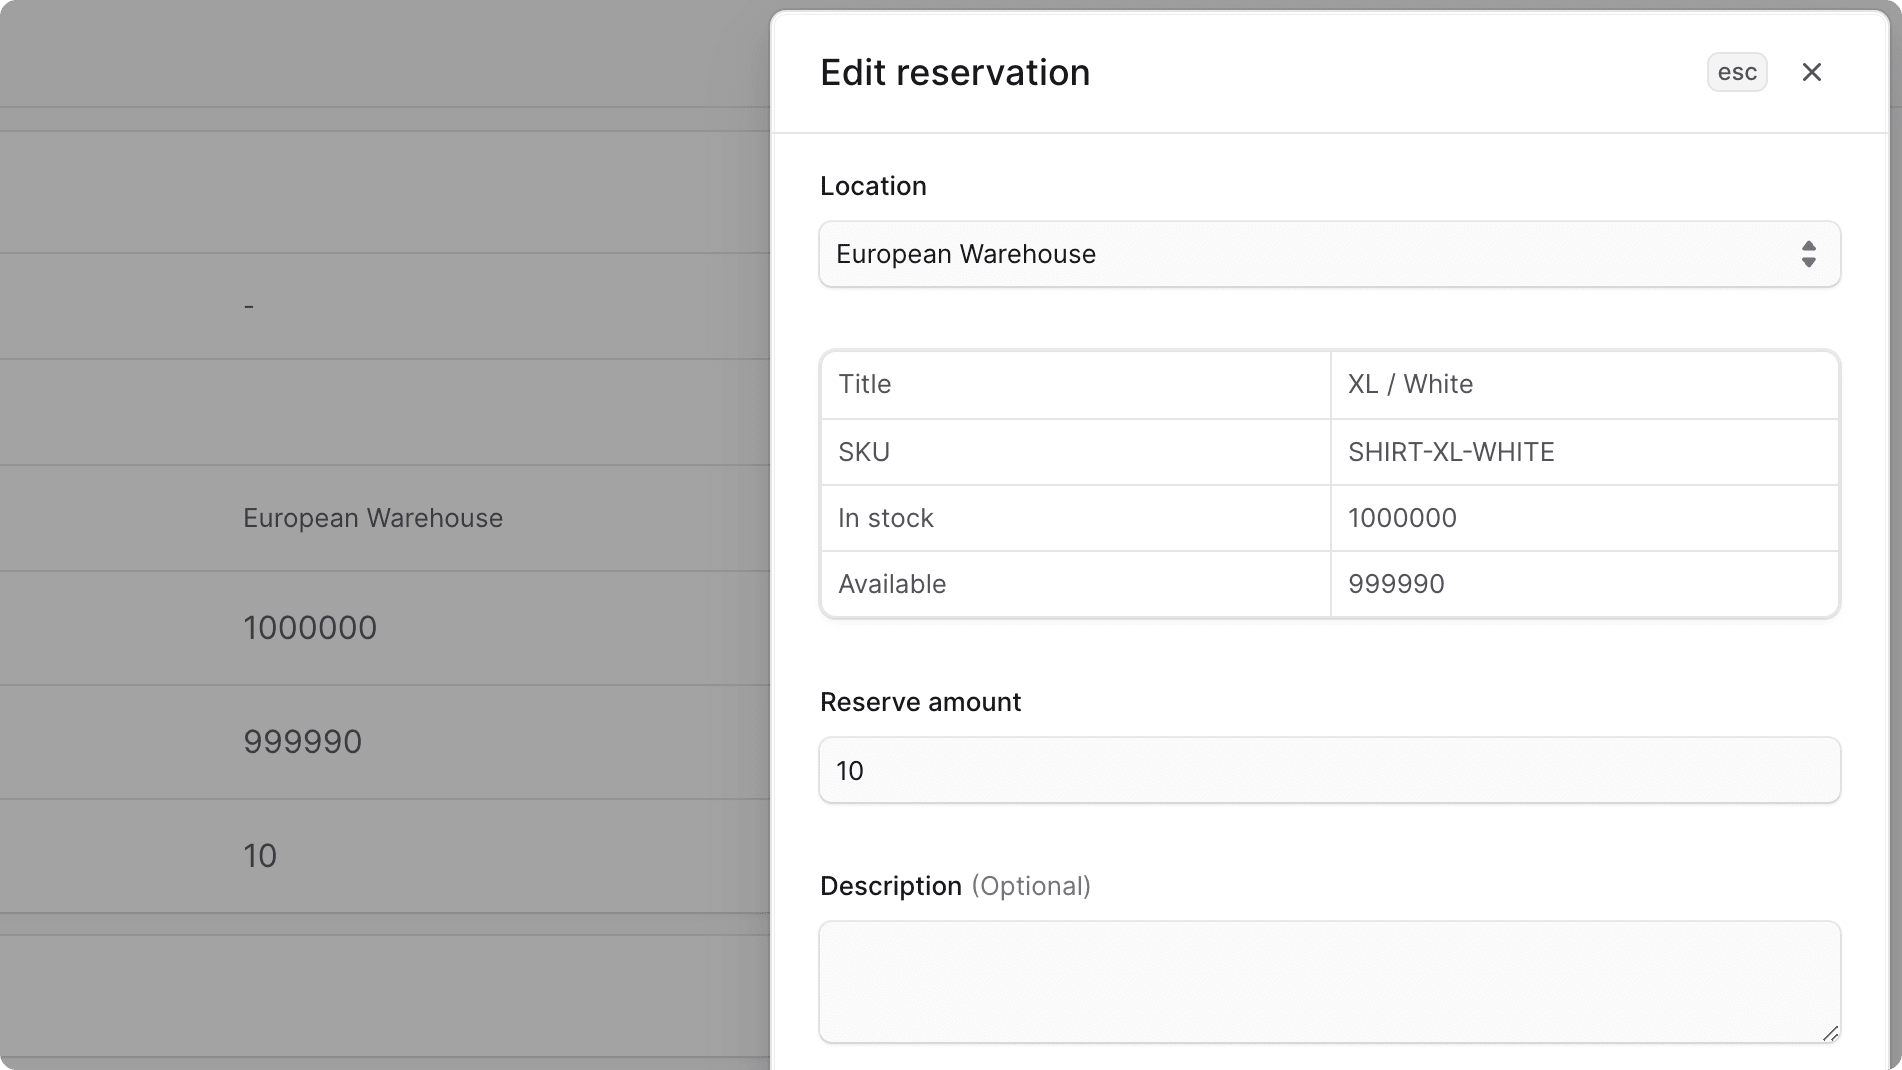
Edit Reservation for Item#
To edit a reservation for an inventory item:
- Go to the inventory item's details page.
- In the "Reservations" section, find the reservation you want to edit and click the icon at its end.
- Choose "Edit" from the dropdown.
- In the side window that opens, you can edit the reservation's location, quantity, and description.
- Once you're done, click the Save button.
Delete Reservation of an Item#
To delete a reservation for an inventory item:
- Go to the inventory item's details page.
- In the "Reservations" section, find the reservation you want to delete and click the icon at its end.
- Choose "Delete" from the dropdown.
- Confirm the action by clicking the Delete button in the pop-up.
Delete Inventory Item#
To delete an inventory item:
- Go to the Inventory page from the sidebar.
- Find the inventory item to delete, and click the icon in its row.
- Choose "Delete" from the dropdown.
- Confirm the action by clicking the Delete button in the pop-up.