Organizations
In this guide, you'll learn about organizations in Cloud and how to manage them.
What is an Organization?#
In Cloud, an organization is a group of users that have access to the same settings, projects, resources, environments, and billing details.
As a user, you must be in an organization to create and deploy projects. A user can be a member of multiple organizations.
Create or Join an Organization#
To get started with Cloud, you need to either create a new organization or join an existing one.
If you don't have a Cloud account, you can sign up for Cloud and create a new organization.
To create a new organization when you already have a Cloud account:
- Click on the icon next to the current organization name at the top left of the Cloud dashboard.
- Choose "Create Organization" from the dropdown.
- In the "Setup your organization" step, enter your organization's name and click the "Create" button.
- In the final step:
- Choose a plan for your organization. By default, the Hobby plan is selected. You can change the plan by clicking the "Change plan" link.
- Payment Details: Enter your card details. You'll be charged upfront based on the plan you selected once you finish the setup.
- Billing details: If you chose the Pro plan, enter your billing details, including your legal name and billing email address. These details are used for taxes and invoicing.
- Billing address: Enter your billing address. This address is used for generated invoices.
- Once you're done, click the "Start your X/mo plan" button. Then, Medusa will charge you for the plan you selected, create an organization, and redirect you to your organization's Cloud dashboard.
Organization Dashboard#
When you open the Cloud dashboard and log in, you're viewing the projects, resources, and settings of a specific organization. You'll find the name of that organization at the top left of the dashboard.

Switch Organization#
If you're a member of multiple organizations, you can switch between them to view their projects, resources, and settings.
To switch to a different organization:
- Click on the icon next to the organization name at the top left of the Cloud dashboard.
- Choose the organization you want to switch to from the dropdown.
This will change the view to the selected organization, and you'll see its projects, resources, and settings.

View Organization Settings#
To view an organization's settings:
- If you're in a different organization, switch to the organization whose settings you want to view.
- Click on the icon in the organization switcher at the top left of the Cloud dashboard.
- Choose "Organization Settings" from the dropdown.
This will open a new window where you can view and manage an organization's settings.

Edit Organization Details#
To edit an organization's general details:
- Open the organization's settings.
- In the General tab, you can edit the organization's name, billing email address, and Tax ID.
- Once you're done making changes, click the "Save changes" button in the Details section.

Leave Organization#
To leave an organization:
- Open the organization's settings.
- In the General tab, find the "Leave organization" section.
- Click the "Leave organization" button.

Delete Organization#
To delete an organization:
- Open the organization's settings.
- In the General tab, find the "Delete organization" section.
- Click the "Delete organization" button.

View Organization Members#
To view the members of an organization:
- Open the organization's settings.
- Click on the "Team" tab.
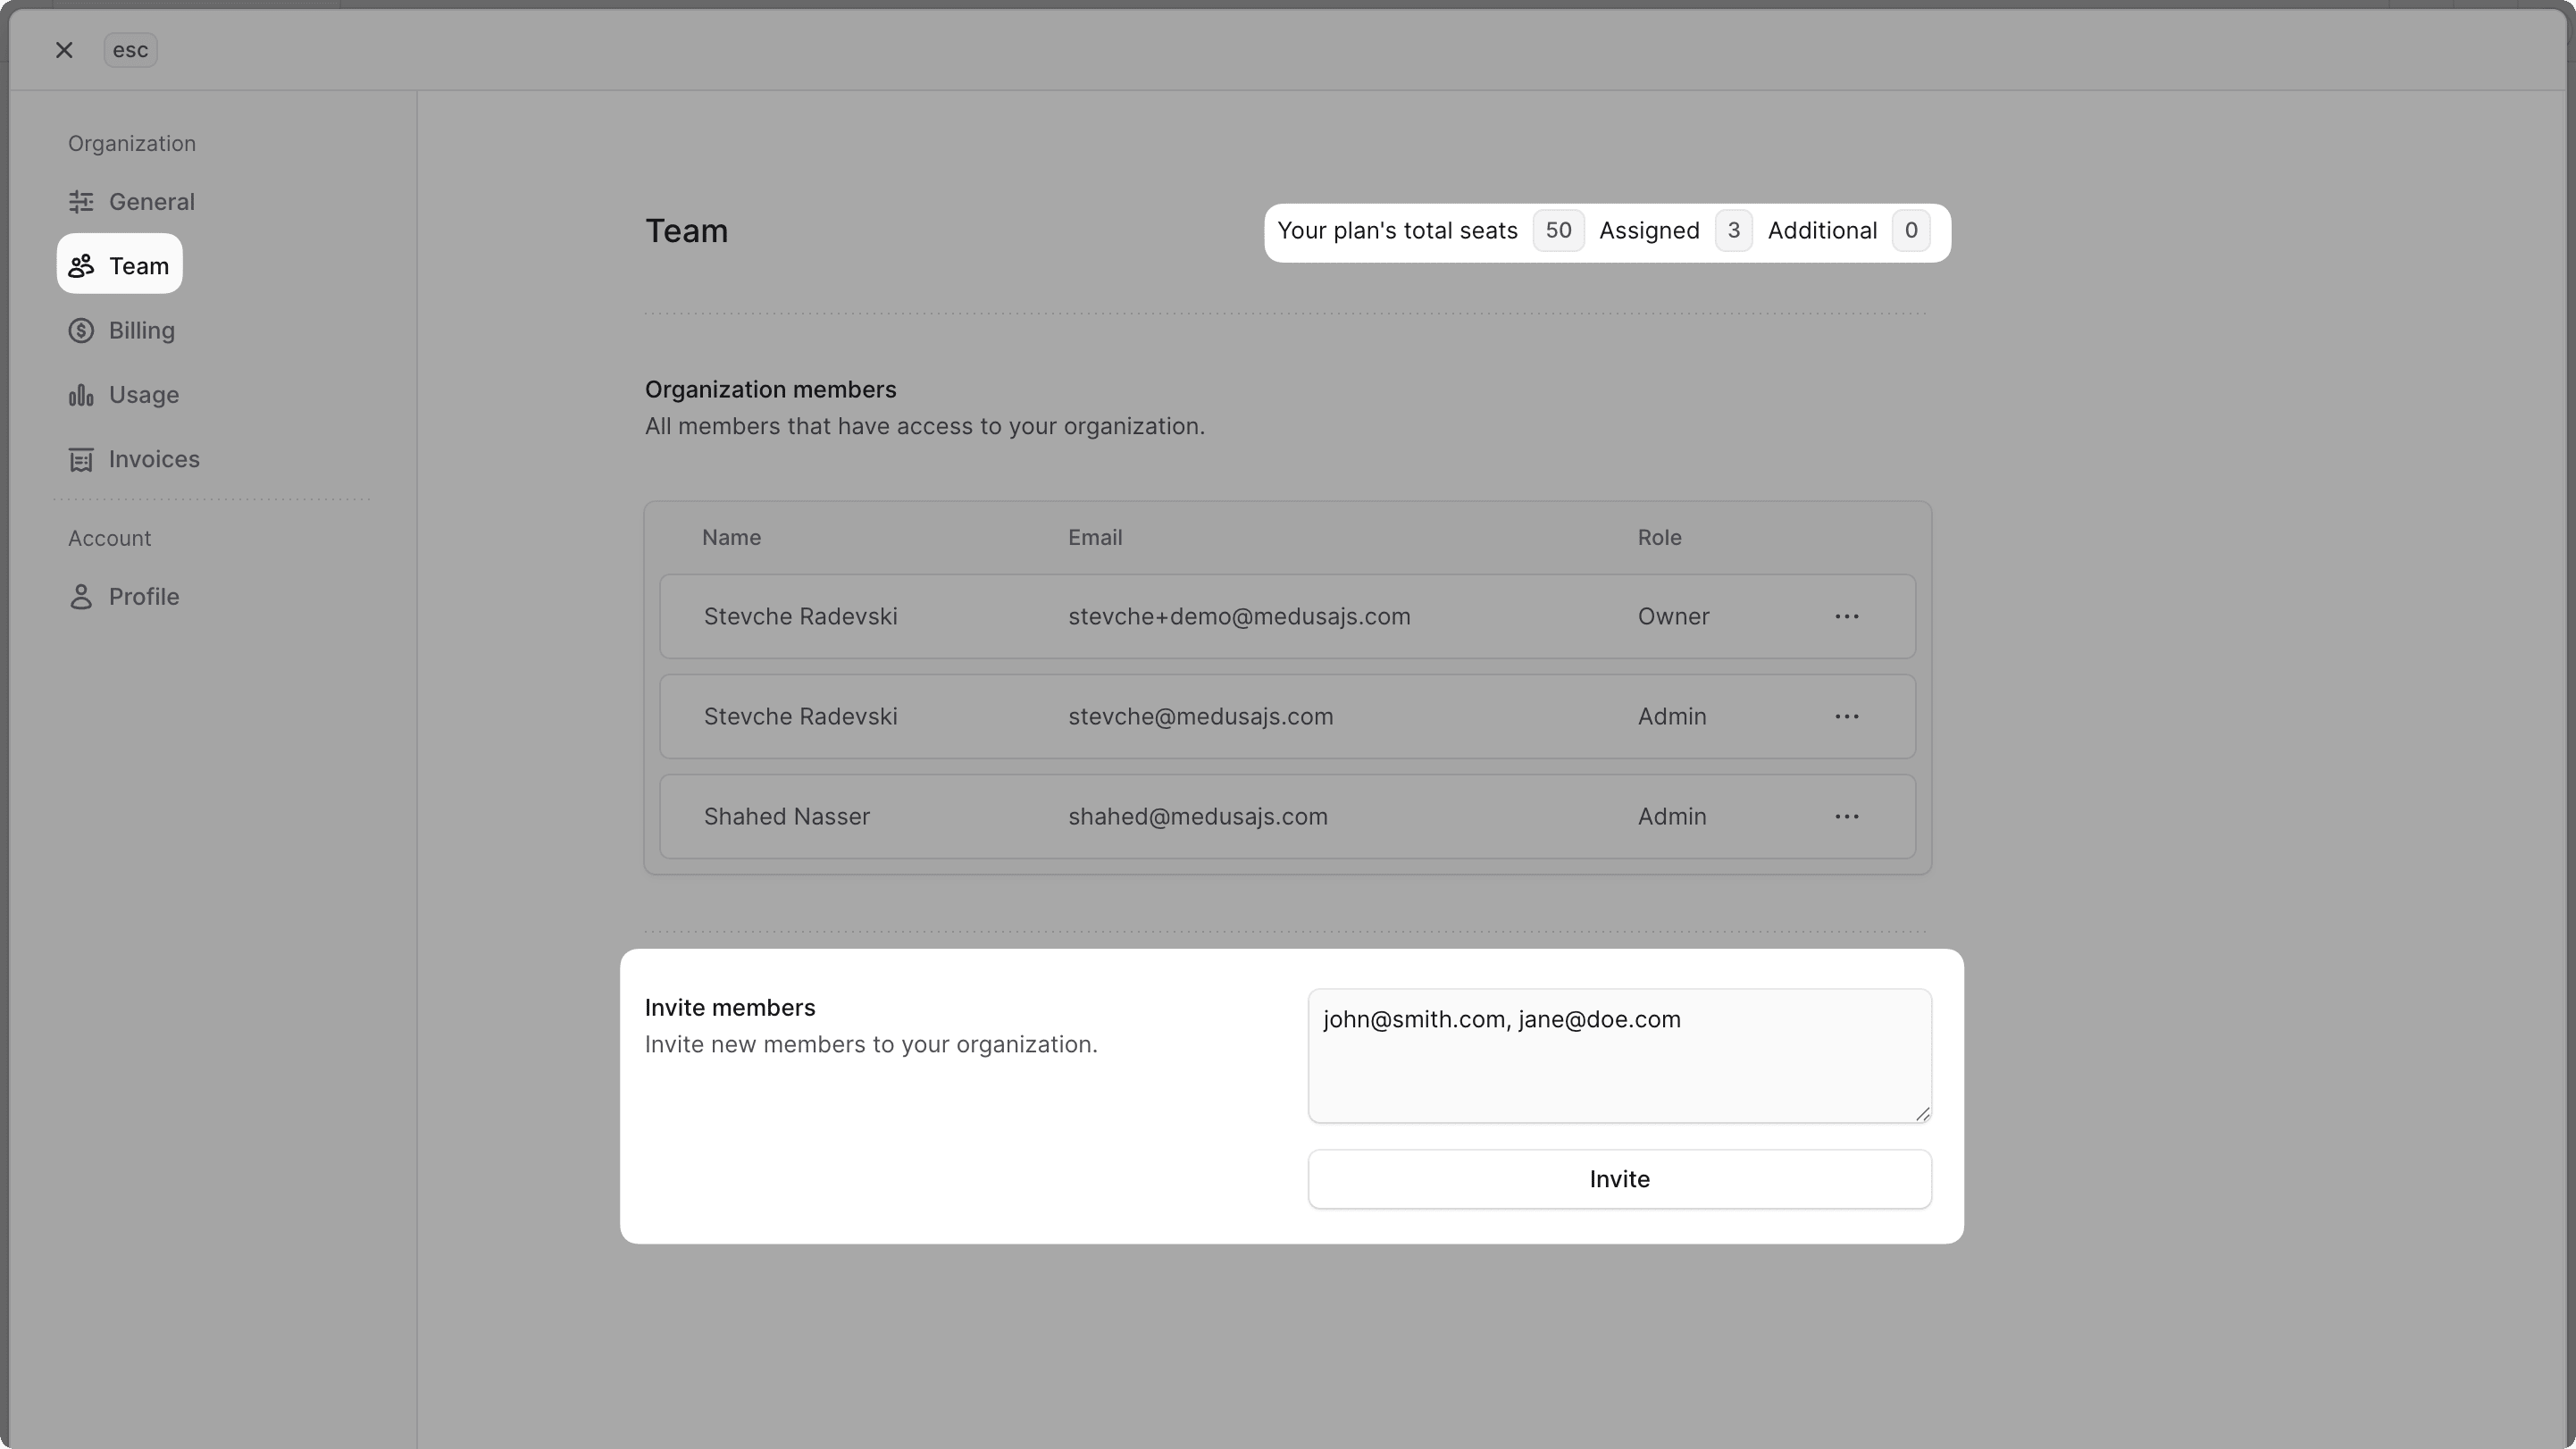
In this window, you can view the members of the organization, their roles, and their email addresses. You can also view invited members who haven't accepted the invitation yet.

View Available Seats#
Based on your organization's plan, you may have a limited number of seats available for members. You can view the number of available seats at the top of the Team tab.
If you need more seats, learn more about other available plans or purchasing add-on resources.

Invite Members to Organization#
To invite members to your organization:
- Open the organization's settings.
- Click on the "Team" tab.
- In the "Invite members" section, enter the email addresses of the users you want to invite. You can enter multiple email addresses separated by commas.
These users will receive an email invitation to join your organization. They can accept the invitation by clicking the link in the email.

Resend Invitation#
You may need to resend an invitation if a user has lost the invitation email or if the invitation has expired.
To resend an invitation:
- Open the organization's settings.
- Click on the "Team" tab.
- In the "Invited members" section, find the user whose invitation you want to resend.
- Click the button at the end of the user's row.
- Choose "Resend invite" from the dropdown.

Revoke Invitation#
You can revoke an invitation to a user if you no longer want them to join your organization.
To revoke an invitation:
- Open the organization's settings.
- Click on the "Team" tab.
- In the "Invited members" section, find the user whose invitation you want to revoke.
- Click the button at the end of the user's row.
- Choose "Revoke invite" from the dropdown.

Remove Members from Organization#
Owner and admin users can remove any members from the organization that aren't owners.
To remove a member from your organization:
- Open the organization's settings.
- Click on the "Team" tab.
- In the "Organization members" section, find the member you want to remove.
- Click the button at the end of the member's row.
- Choose "Remove from organization" from the dropdown.

Manage Billing Details#
Refer to the Billing guide to learn how to manage your organization's billing details, including payment methods, invoices, and usage.