Manage Billing Details
In this guide, you'll learn how to manage your organization's billing details in Cloud.
Edit Billing Email#
To edit the email used for billing:
- Make sure you're viewing the correct organization's dashboard in Cloud.
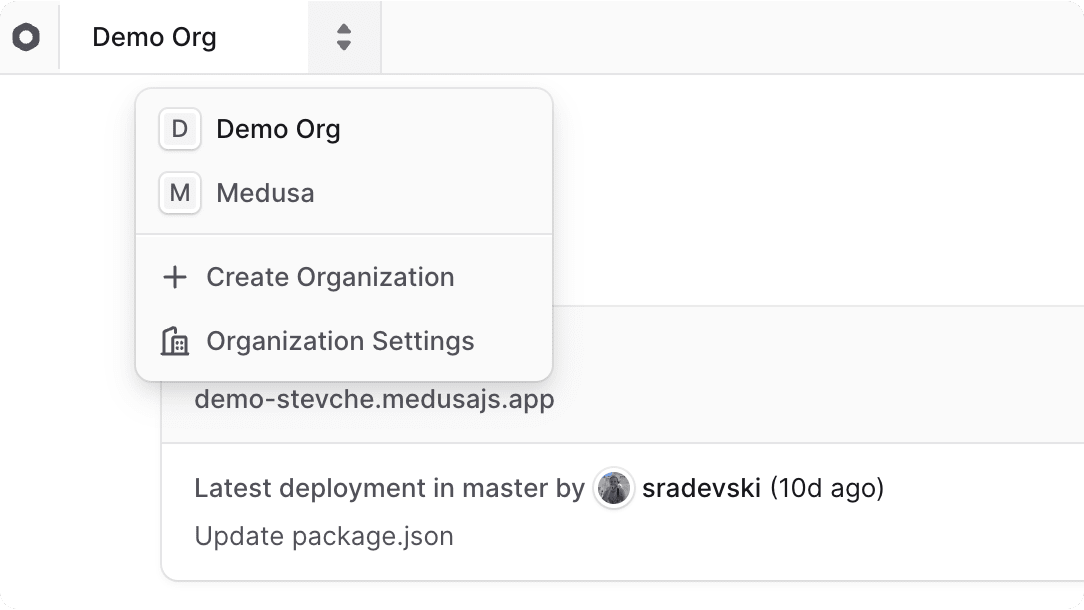
- Click on the icon in the organization switcher at the top left of the Cloud dashboard.
- Choose "Organization Settings" from the dropdown.

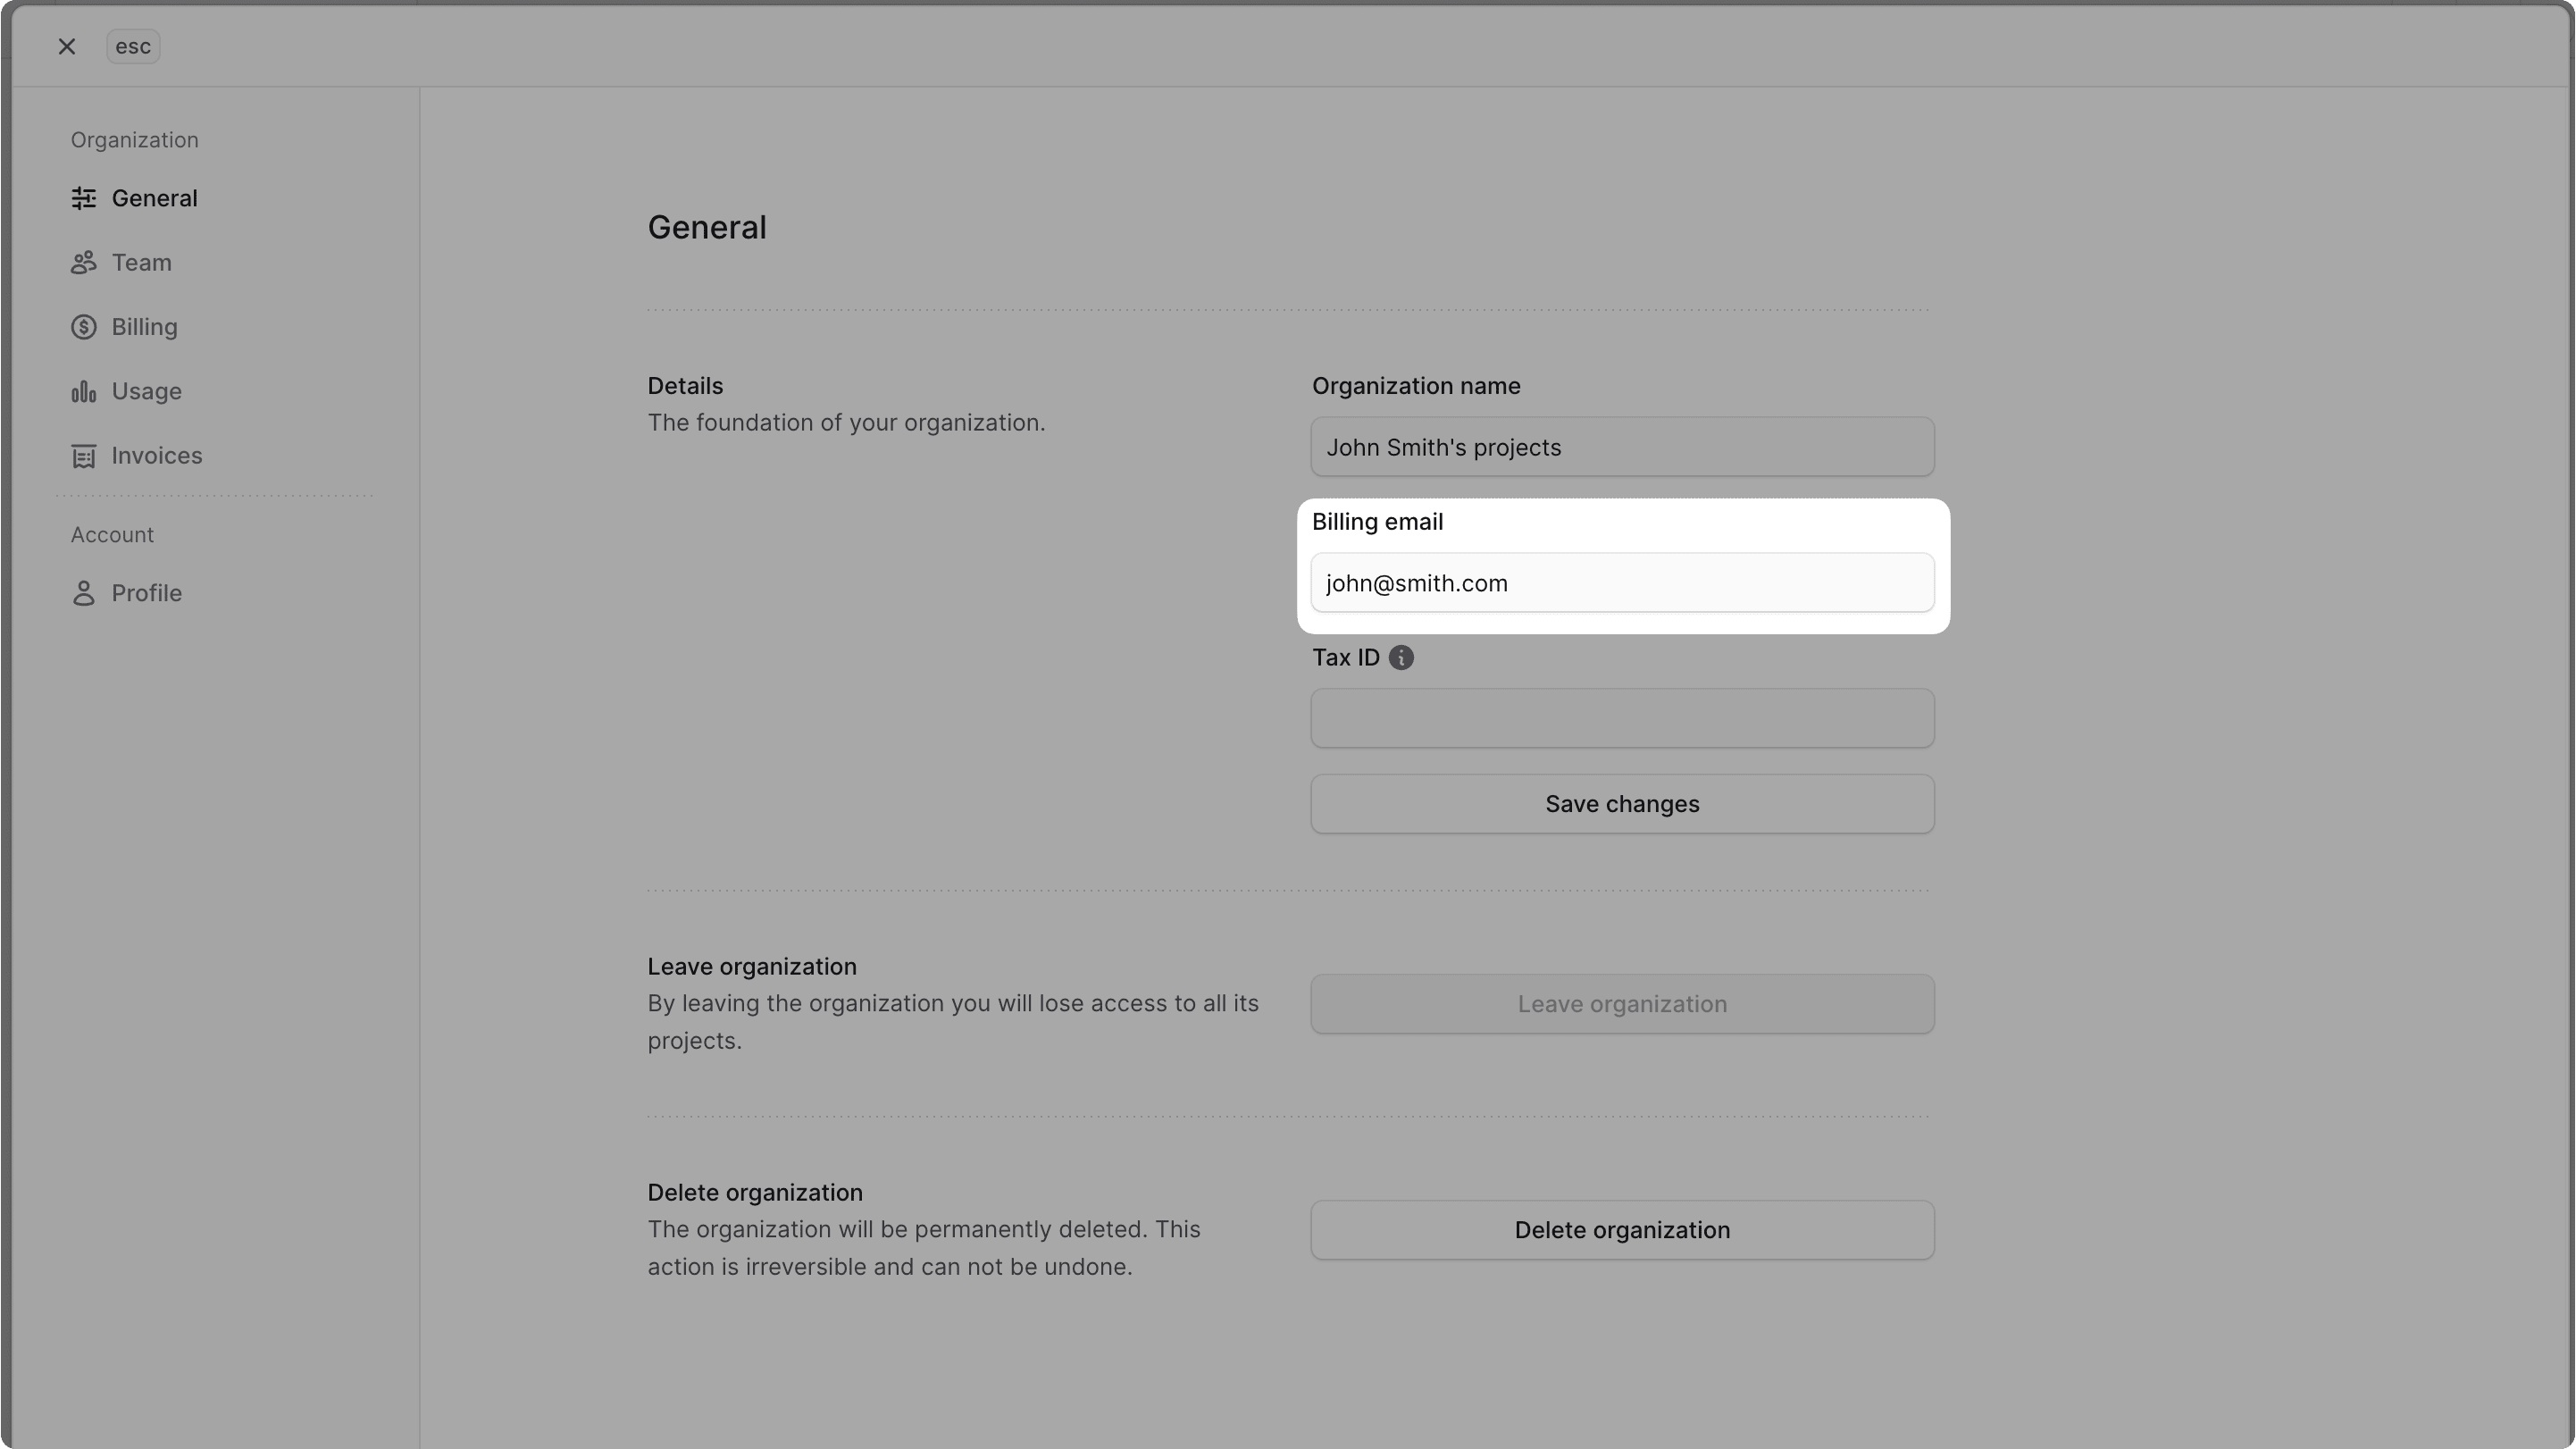
- In the Details section of the General settings, change the "Billing email" field.
- Once you're done, click the "Save changes" button.

Edit Tax ID#
To edit the Tax, VAT, EIN, GST, or other tax identification numbers for your organization:
- Make sure you're viewing the correct organization's dashboard in Cloud.
- Click on the icon in the organization switcher at the top left of the Cloud dashboard.
- Choose "Organization Settings" from the dropdown.
- In the Details section of the General settings, change the "Tax ID" field.
- Once you're done, click the "Save changes" button.

Edit Billing Information#
Billing information is used in your organization's invoices. You can edit the billing information to make sure the invoices include the correct details.
To edit the billing information:
- Make sure you're viewing the correct organization's dashboard in Cloud.
- Click on the icon in the organization switcher at the top left of the Cloud dashboard.
- Choose "Organization Settings" from the dropdown.
- Change to the "Billing" settings from the sidebar.
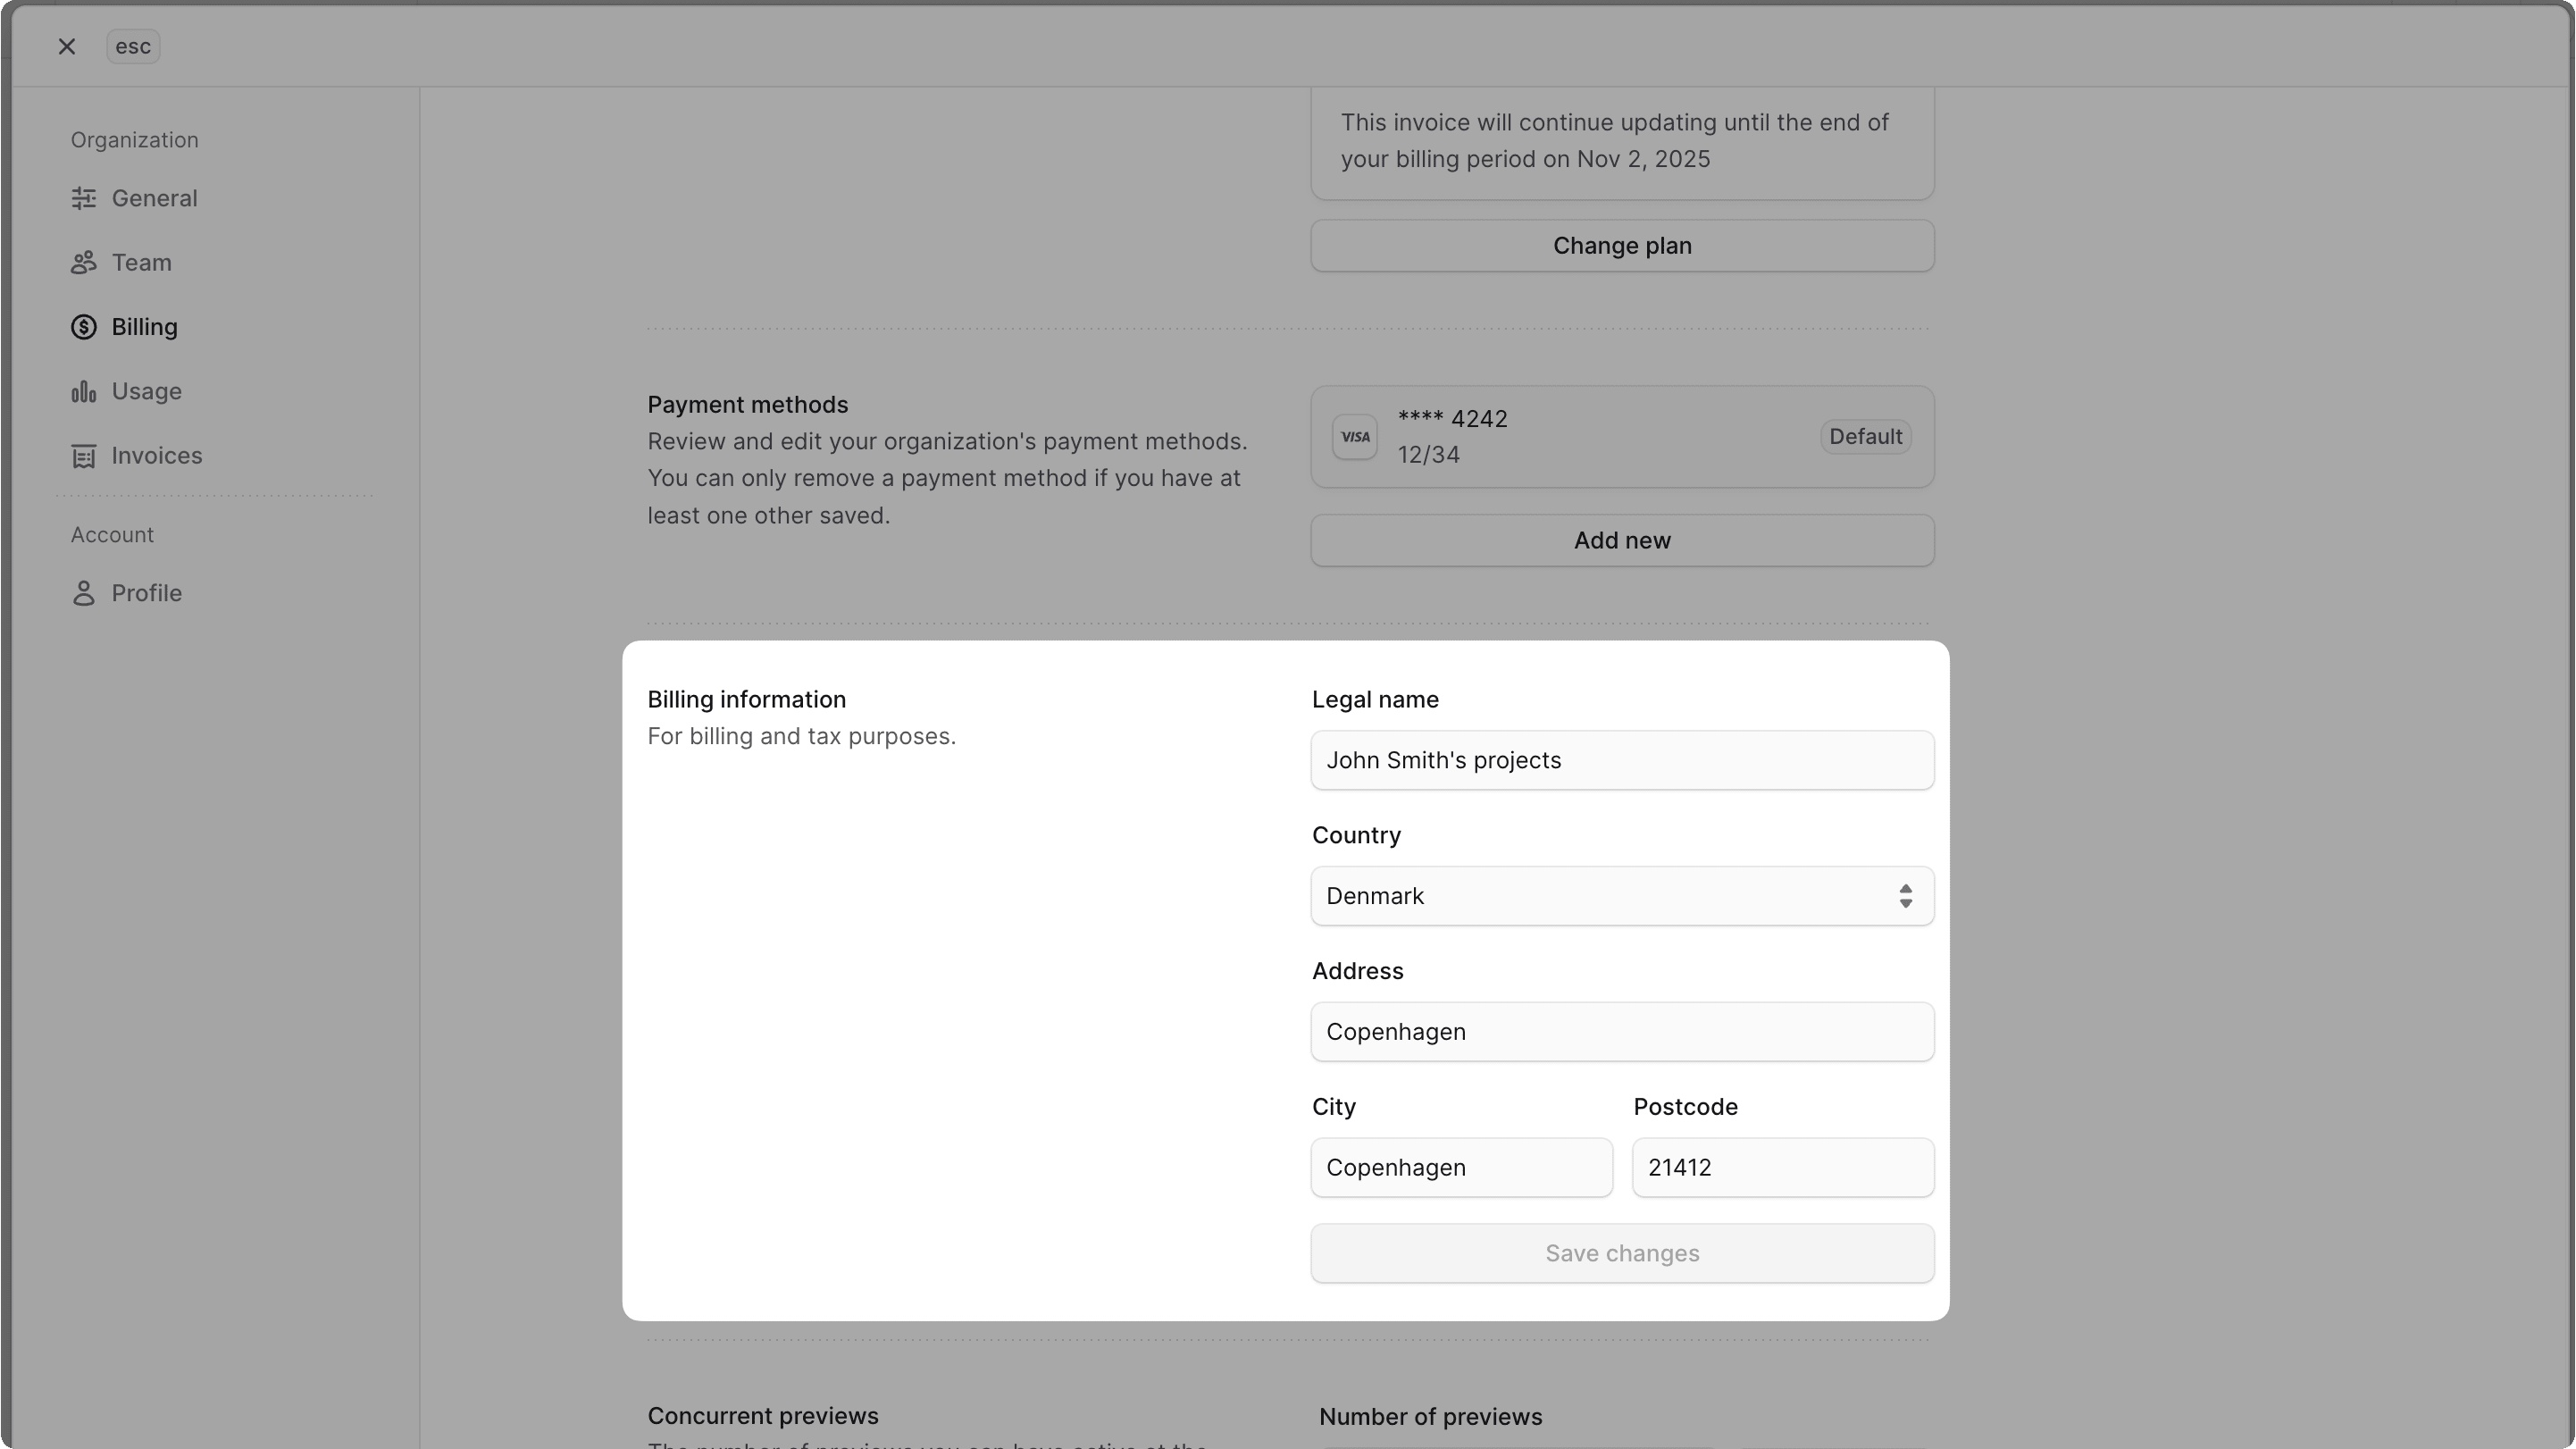
- In the "Billing information" section, you can edit the legal name, country, address line, city, and post code.
- Once you're done, click the "Save changes" button.
The new billing information will be used in your organization's next invoice.

Manage Payment Methods#
You can manage the payment methods used for the monthly Cloud payment subscriptions for your organization.
Add Payment Method to Organization#
To add a payment method that can be used for Cloud payments in an organization:
- Make sure you're viewing the correct organization's dashboard in Cloud.
- Click on the icon in the organization switcher at the top left of the Cloud dashboard.
- Choose "Organization Settings" from the dropdown.
- Change to the "Billing" settings from the sidebar.
- In the "Payment methods" section, click the "Add new" button.
- This will open a form where you can add credit card details.
- Once you're done, click the "Save" button.
Set Payment Method as Default#
When Cloud captures the subscription payment for your organization, it first uses the default payment method in your organization. If payment fails, Cloud tries to use other payment methods in the organization, if available.
When you have multiple payment methods added to your organization, you can change the default payment method.
To change the default payment method:
- Make sure you're viewing the correct organization's dashboard in Cloud.
- Click on the icon in the organization switcher at the top left of the Cloud dashboard.
- Choose "Organization Settings" from the dropdown.
- Change to the "Billing" settings from the sidebar.
- In the "Payment methods" section, find the payment method you want to set as default.
- Click the icon next to the payment method.
- Choose "Set as default" from the dropdown.
The next time Cloud captures the subscription payment for your organization, it will use this payment method first.
Change Concurrent Previews Limit#
Based on your plan, you may have limits on the number of active preview environments you can have at a time. For example, if your plan allows for one active preview environment, you can only have one open PR with a preview environment at a time.
You can increase the concurrent previews limit, which would add it to your bill as an add-on resource.
To change the concurrent previews limit:
- Make sure you're viewing the correct organization's dashboard in Cloud.
- Click on the icon in the organization switcher at the top left of the Cloud dashboard.
- Choose "Organization Settings" from the dropdown.
- Change to the "Billing" settings from the sidebar.
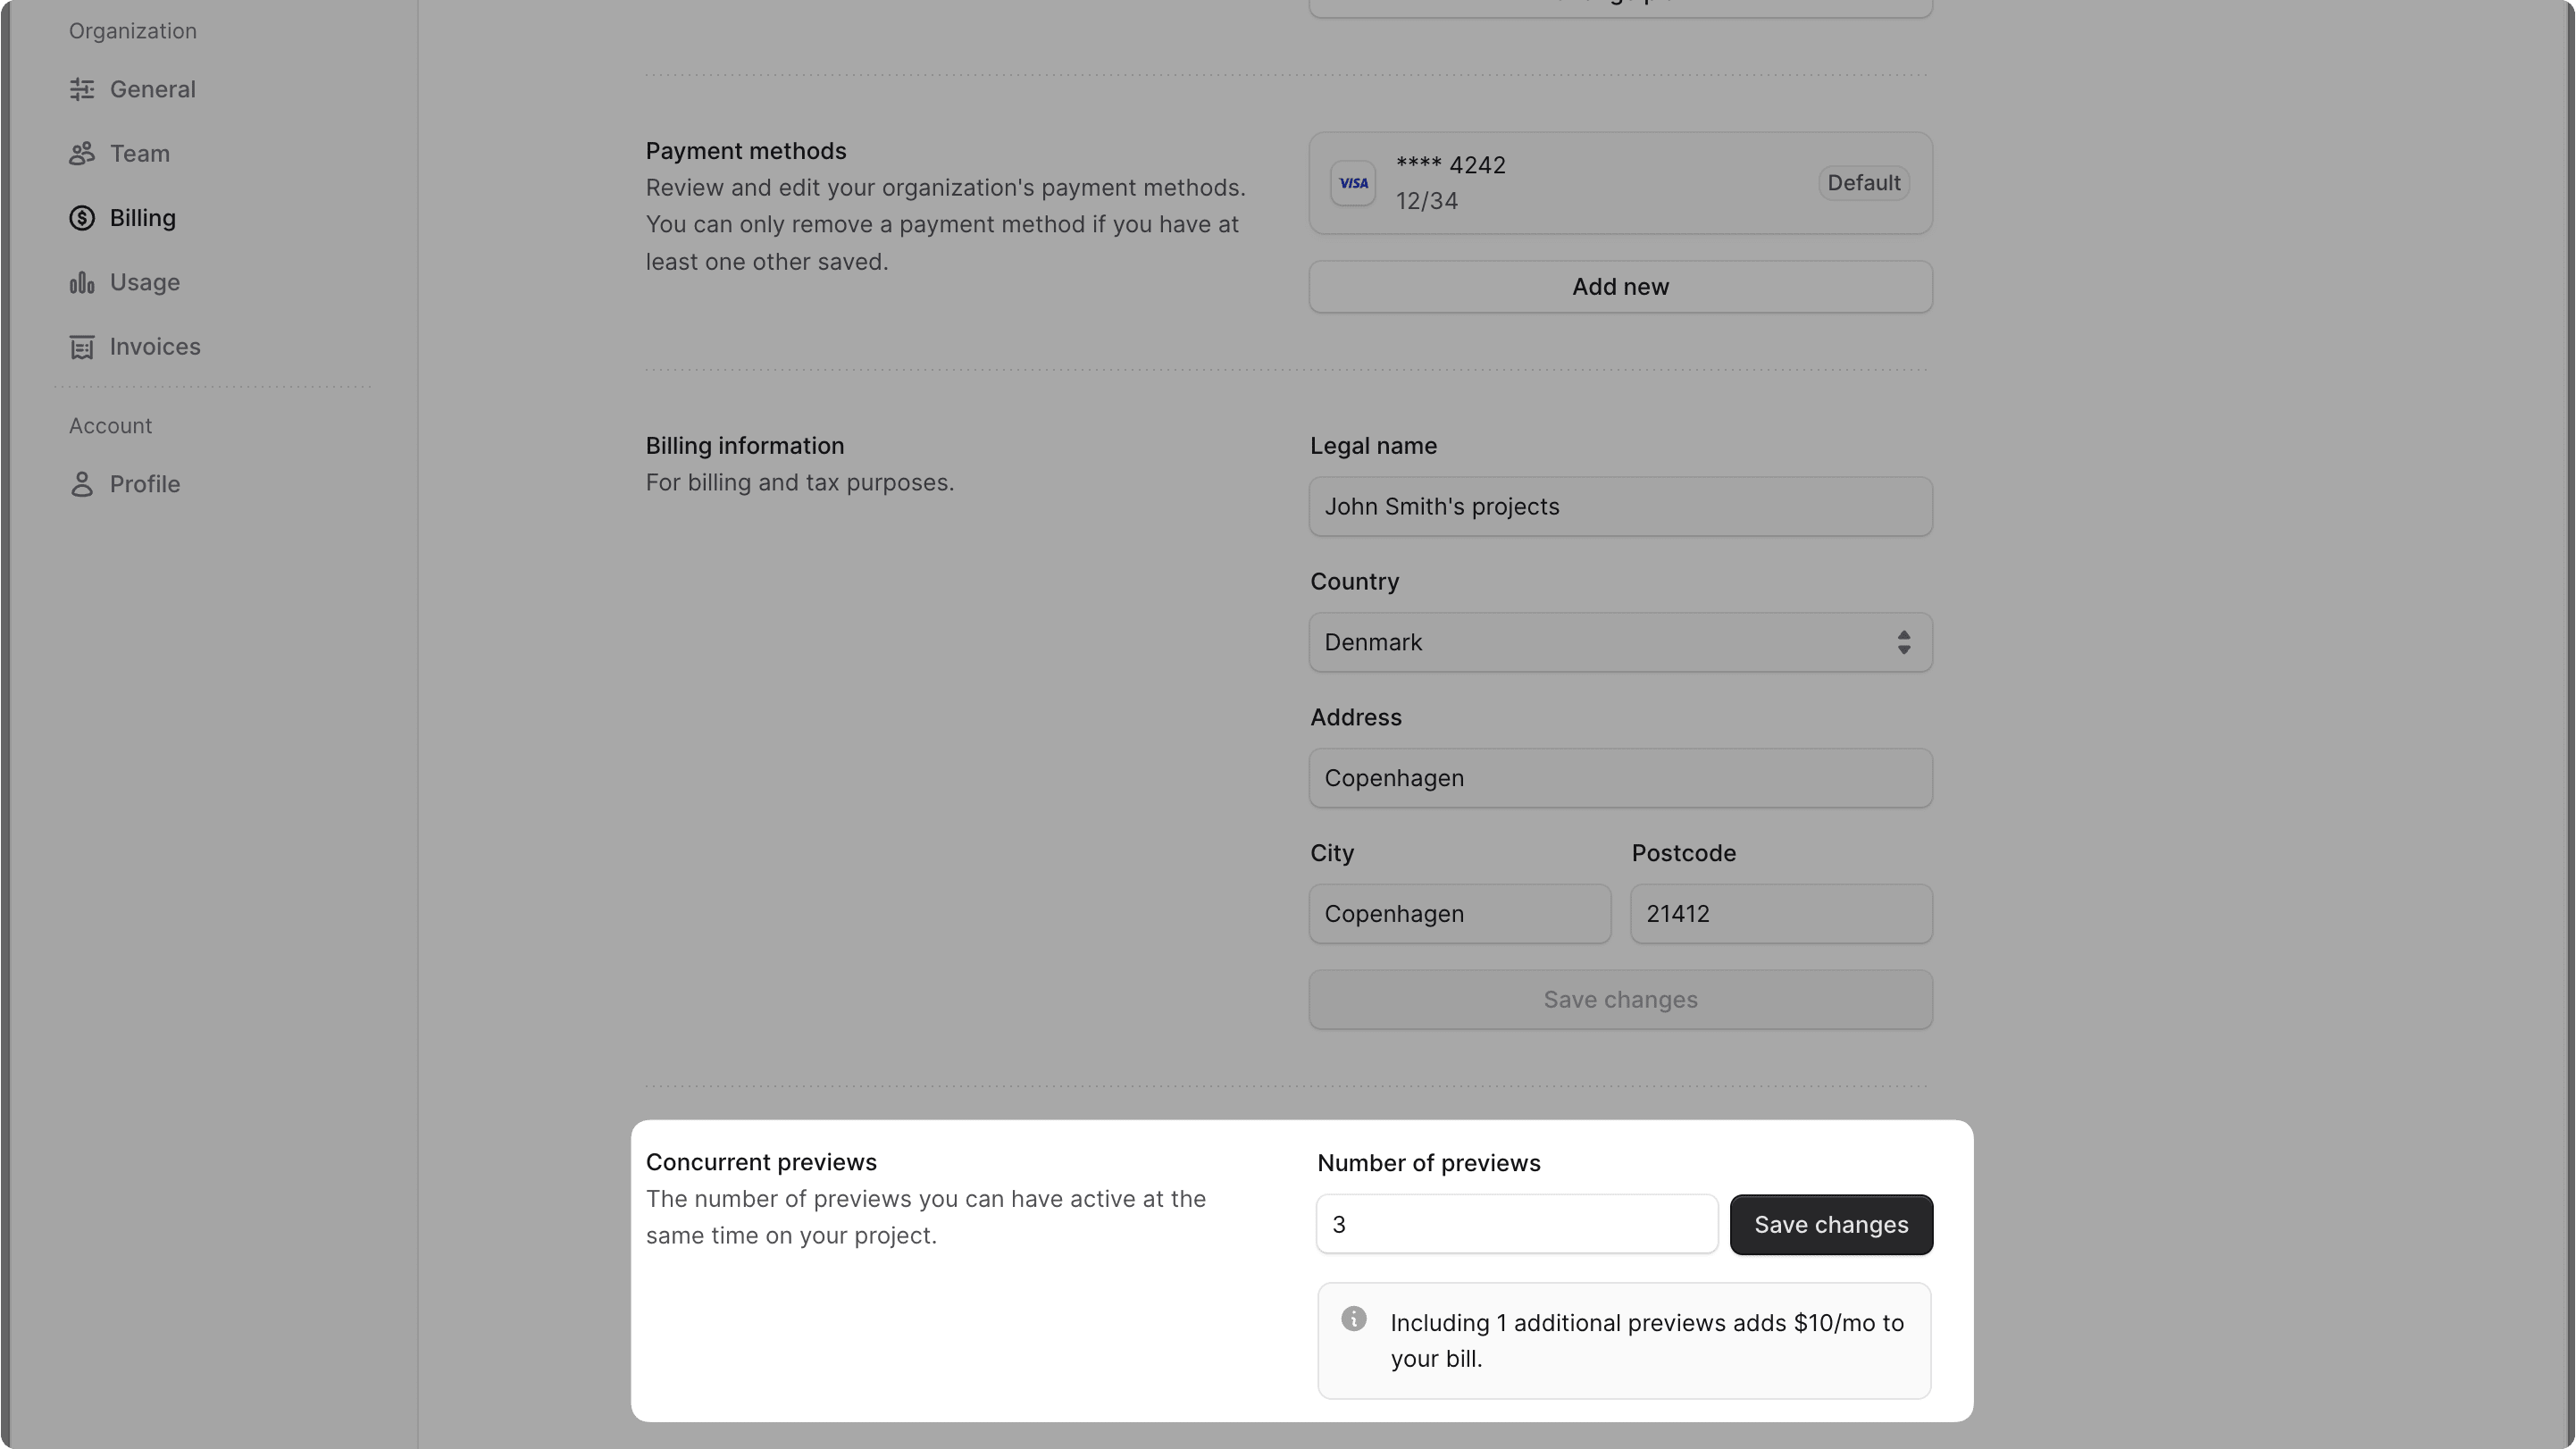
- In the "Concurrent previews" section, enter the number of concurrent previews you want to have.
- You can't enter a number lower than your current active preview environments. For example, if you have two active preview environments, you can't set the limit to one.
- You can see how much it would cost to increase the limit below the input field.
- Once you're done, click the "Save changes" button.
This will apply the new limit to your organization, and you can view your updated bill in the Invoices settings.
