2.1.3. Guide: Create Brand API Route
In the previous two chapters, you created a Brand Module that added the concepts of brands to your application, then created a workflow to create a brand. In this chapter, you'll expose an API route that allows admin users to create a brand using the workflow from the previous chapter.
An API Route is an endpoint that acts as an entry point for other clients to interact with your Medusa customizations, such as the admin dashboard, storefronts, or third-party systems.
The Medusa core application provides a set of admin and store API routes out-of-the-box. You can also create custom API routes to expose your custom functionalities.
1. Create the API Route#
You create an API route in a route.{ts,js} file under a sub-directory of the src/api directory. The file exports API Route handler functions for at least one HTTP method (GET, POST, DELETE, etc…).
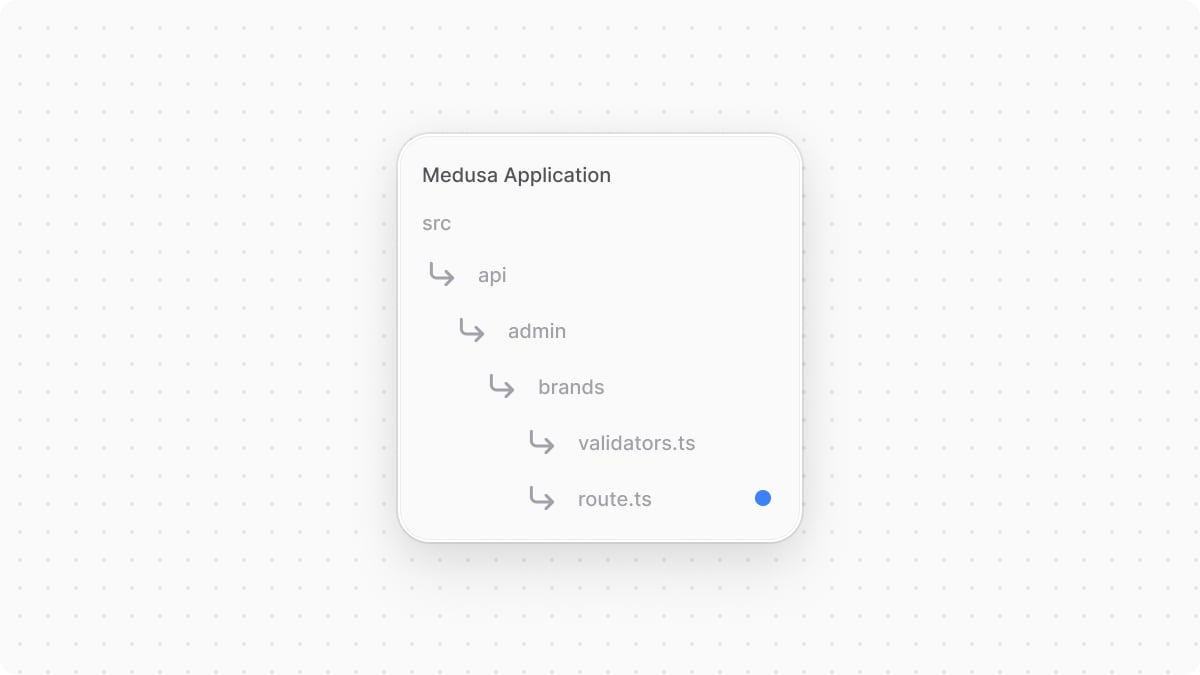
The route's path is the path of route.{ts,js} relative to src/api. So, to create the API route at /admin/brands, create the file src/api/admin/brands/route.ts with the following content:

1import {2 MedusaRequest,3 MedusaResponse,4} from "@medusajs/framework/http"5import { 6 createBrandWorkflow,7} from "../../../workflows/create-brand"8 9type PostAdminCreateBrandType = {10 name: string11}12 13export const POST = async (14 req: MedusaRequest<PostAdminCreateBrandType>,15 res: MedusaResponse16) => {17 const { result } = await createBrandWorkflow(req.scope)18 .run({19 input: req.validatedBody,20 })21 22 res.json({ brand: result })23}
You export a route handler function with its name (POST) being the HTTP method of the API route you're exposing.
The function receives two parameters: a MedusaRequest object to access request details, and MedusaResponse object to return or manipulate the response. The MedusaRequest object's scope property is the Medusa container that holds Framework tools and custom and core modules' services.
MedusaRequest accepts the request body's type as a type argument.In the API route's handler, you execute the createBrandWorkflow by invoking it and passing the Medusa container req.scope as a parameter, then invoking its run method. You pass the workflow's input in the input property of the run method's parameter. You pass the request body's parameters using the validatedBody property of MedusaRequest.
You return a JSON response with the created brand using the res.json method.
2. Create Validation Schema#
The API route you created accepts the brand's name in the request body. So, you'll create a schema used to validate incoming request body parameters.
Medusa uses Zod to create validation schemas. These schemas are then used to validate incoming request bodies or query parameters.
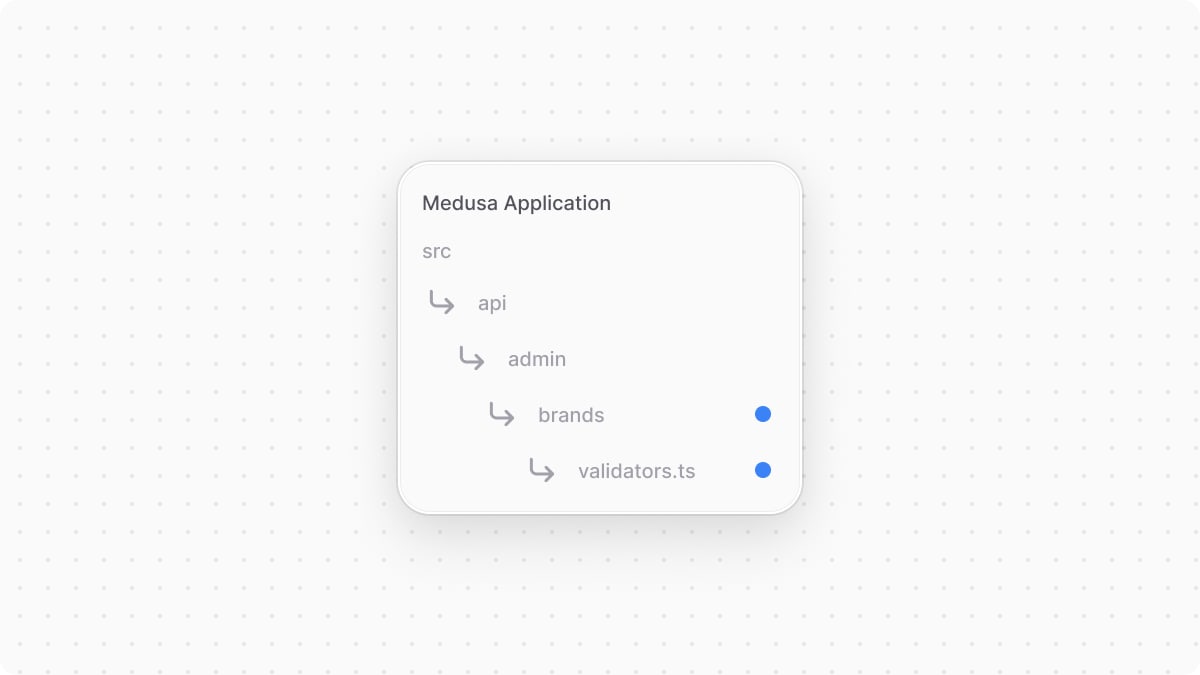
You create a validation schema in a TypeScript or JavaScript file under a sub-directory of the src/api directory. So, create the file src/api/admin/brands/validators.ts with the following content:

You export a validation schema that expects in the request body an object having a name property whose value is a string.
You can then replace PostAdminCreateBrandType in src/api/admin/brands/route.ts with the following:
3. Add Validation Middleware#
A middleware is a function executed before the route handler when a request is sent to an API Route. It's useful to guard API routes, parse custom request body types, and apply validation on an API route.
Medusa provides a validateAndTransformBody middleware that accepts a Zod validation schema and returns a response error if a request is sent with body parameters that don't satisfy the validation schema.
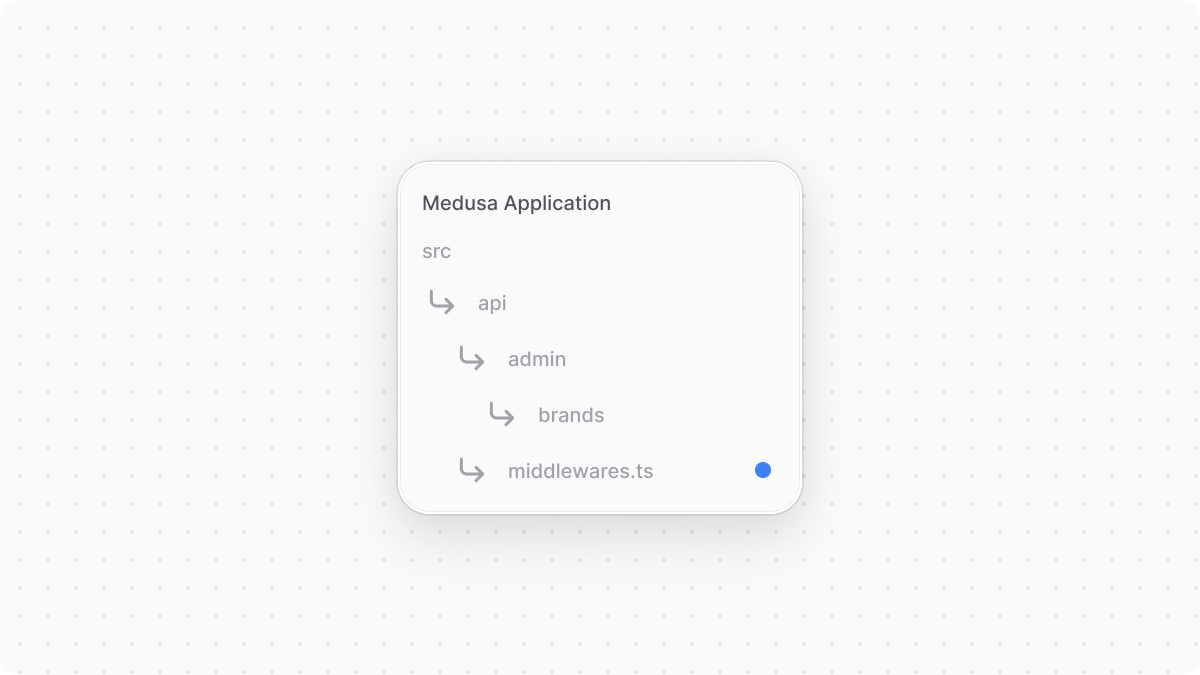
Middlewares are defined in the special file src/api/middlewares.ts. So, to add the validation middleware on the API route you created in the previous step, create the file src/api/middlewares.ts with the following content:

1import { 2 defineMiddlewares,3 validateAndTransformBody,4} from "@medusajs/framework/http"5import { PostAdminCreateBrand } from "./admin/brands/validators"6 7export default defineMiddlewares({8 routes: [9 {10 matcher: "/admin/brands",11 method: "POST",12 middlewares: [13 validateAndTransformBody(PostAdminCreateBrand),14 ],15 },16 ],17})
You define the middlewares using the defineMiddlewares function and export its returned value. The function accepts an object having a routes property, which is an array of middleware objects.
In the middleware object, you define three properties:
matcher: a string or regular expression indicating the API route path to apply the middleware on. You pass the create brand's route/admin/brands.method: The HTTP method to restrict the middleware to, which isPOST.middlewares: An array of middlewares to apply on the route. You pass thevalidateAndTransformBodymiddleware, passing it the Zod schema you created earlier.
The Medusa application will now validate the body parameters of POST requests sent to /admin/brands to ensure they match the Zod validation schema. If not, an error is returned in the response specifying the issues to fix in the request body.
Test API Route#
To test out the API route, start the Medusa application with the following command:
Since the /admin/brands API route has a /admin prefix, it's only accessible by authenticated admin users.
So, to retrieve an authenticated token of your admin user, send a POST request to the /auth/user/emailpass API Route:
Make sure to replace the email and password with your admin user's credentials.
Then, send a POST request to /admin/brands, passing the token received from the previous request in the Authorization header:
This returns the created brand in the response:
Troubleshooting#
Returned Empty Array
If you sent a request to the API route and received an empty array in the response, make sure you've correctly created the middleware at src/api/middlewares.ts (with correct spelling). This is a common mistake that can lead to the middleware not being applied, resulting in unexpected behavior.
Summary#
By following the previous example chapters, you implemented a custom feature that allows admin users to create a brand. You did that by:
- Creating a module that defines and manages a
brandtable in the database. - Creating a workflow that uses the module's service to create a brand record, and implements the compensation logic to delete that brand in case an error occurs.
- Creating an API route that allows admin users to create a brand.
Next Steps: Associate Brand with Product#
Now that you have brands in your Medusa application, you want to associate a brand with a product, which is defined in the Product Module.
In the next chapters, you'll learn how to build associations between data models defined in different modules.