Implement Quick Re-Order Functionality in Medusa
In this tutorial, you'll learn how to implement a re-order functionality in Medusa.
When you install a Medusa application, you get a fully-fledged commerce platform with a Framework for customization. The Medusa application's commerce features are built around Commerce Modules which are available out-of-the-box. The features include order-management features.
The Medusa Framework facilitates building custom features that are necessary for your business use case. In this tutorial, you'll learn how to implement a re-order functionality in Medusa. This feature is useful for businesses whose customers are likely to repeat their orders, such as B2B or food delivery businesses.
You can follow this guide whether you're new to Medusa or an advanced Medusa developer.
Summary#
By following this tutorial, you'll learn how to:
- Install and set up Medusa.
- Define the logic to re-order an order.
- Customize the Next.js Starter Storefront to add a re-order button.

Step 1: Install a Medusa Application#
Start by installing the Medusa application on your machine with the following command:
You'll first be asked for the project's name. Then, when asked whether you want to install the Next.js Starter Storefront, choose Yes.
Afterwards, the installation process will start, which will install the Medusa application as a monorepository in a directory with your project's name. The backend is installed in the apps/backend directory, and the Next.js Starter Storefront is installed in the apps/storefront directory.
Once the installation finishes successfully, the Medusa Admin dashboard will open with a form to create a new user. Enter the user's credentials and submit the form. Afterwards, you can log in with the new user and explore the dashboard.
apps/backend directory of your Medusa project.Step 2: Implement Re-Order Workflow#
To build custom commerce features in Medusa, you create a workflow. A workflow is a series of queries and actions, called steps, that complete a task.
By using workflows, you can track their executions' progress, define roll-back logic, and configure other advanced features. Then, you execute the workflow from other customizations, such as in an API Route.
In this section, you'll implement the re-order functionality in a workflow. Later, you'll execute the workflow in a custom API route.
The workflow will have the following steps:
View step details
This workflow uses steps from Medusa's @medusajs/medusa/core-flows package. So, you can implement the workflow without implementing custom steps.
a. Create the Workflow#
To create the workflow, create the file src/workflows/reorder.ts with the following content:
1import { 2 createWorkflow, 3 transform, 4 WorkflowResponse,5} from "@medusajs/framework/workflows-sdk"6import { 7 addShippingMethodToCartWorkflow, 8 createCartWorkflow, 9 useQueryGraphStep,10} from "@medusajs/medusa/core-flows"11 12type ReorderWorkflowInput = {13 order_id: string14}15 16export const reorderWorkflow = createWorkflow(17 "reorder",18 ({ order_id }: ReorderWorkflowInput) => {19 const { data: orders } = useQueryGraphStep({20 entity: "order",21 fields: [22 "*",23 "items.*",24 "shipping_address.*",25 "billing_address.*",26 "region.*",27 "sales_channel.*",28 "shipping_methods.*",29 "customer.*",30 ],31 filters: {32 id: order_id,33 },34 })35 36 // TODO create a cart with the order's items37 }38)
You create a workflow using createWorkflow from the Workflows SDK. It accepts the workflow's unique name as a first parameter.
It accepts as a second parameter a constructor function, which is the workflow's implementation. The function can accept input, which in this case is an object holding the ID of the order to re-order.
In the workflow's constructor function, so far you use the useQueryGraphStep step to retrieve the order's details. This step uses Query under the hood, which allows you to query data across modules.
b. Create a Cart#
Next, you need to create a cart using the old order's details. You can use the createCartWorkflow step to create a cart, but you first need to prepare its input data.
Replace the TODO in the workflow with the following:
1const createInput = transform({2 orders,3}, (data) => {4 return {5 region_id: data.orders[0].region_id!,6 sales_channel_id: data.orders[0].sales_channel_id!,7 customer_id: data.orders[0].customer_id!,8 email: data.orders[0].email!,9 billing_address: {10 first_name: data.orders[0].billing_address?.first_name!,11 last_name: data.orders[0].billing_address?.last_name!,12 address_1: data.orders[0].billing_address?.address_1!,13 city: data.orders[0].billing_address?.city!,14 country_code: data.orders[0].billing_address?.country_code!,15 province: data.orders[0].billing_address?.province!,16 postal_code: data.orders[0].billing_address?.postal_code!,17 phone: data.orders[0].billing_address?.phone!,18 },19 shipping_address: {20 first_name: data.orders[0].shipping_address?.first_name!,21 last_name: data.orders[0].shipping_address?.last_name!,22 address_1: data.orders[0].shipping_address?.address_1!,23 city: data.orders[0].shipping_address?.city!,24 country_code: data.orders[0].shipping_address?.country_code!,25 province: data.orders[0].shipping_address?.province!,26 postal_code: data.orders[0].shipping_address?.postal_code!,27 phone: data.orders[0].shipping_address?.phone!,28 },29 items: data.orders[0].items?.map((item) => ({30 variant_id: item?.variant_id!,31 quantity: item?.quantity!,32 unit_price: item?.unit_price!,33 })),34 }35})36 37const { id: cart_id } = createCartWorkflow.runAsStep({38 input: createInput,39})40 41// TODO add the shipping method to the cart
Data manipulation is not allowed in a workflow, as Medusa stores its definition before executing it. Instead, you can use transform from the Workflows SDK to manipulate the data.
transform function in the Data Manipulation in Workflows documentation.transform accepts the following parameters:
- The data to use in the transformation function.
- A transformation function that accepts the data from the first parameter and returns the transformed data.
In the above code snippet, you use transform to create the input for the createCartWorkflow step. The input is an object that holds the cart's details, including its items, shipping and billing addresses, and more.
After that, you execute the createCartWorkflow passing it the transformed input. The workflow returns the cart's details, including its ID.
c. Add Shipping Methods#
Next, you need to add the order's shipping method(s) to the cart. This saves the customer from having to select a shipping method again.
You can use the addShippingMethodToCartWorkflow step to add the shipping method(s) to the cart.
Replace the TODO in the workflow with the following:
1const addShippingMethodToCartInput = transform({2 cart_id,3 orders,4}, (data) => {5 return {6 cart_id: data.cart_id,7 options: data.orders[0].shipping_methods?.map((method) => ({8 id: method?.shipping_option_id!,9 data: method?.data!,10 })) ?? [],11 }12})13 14addShippingMethodToCartWorkflow.runAsStep({15 input: addShippingMethodToCartInput,16})17 18// TODO retrieve and return the cart's details
Again, you use transform to prepare the input for the addShippingMethodToCartWorkflow. The input includes the cart's ID and the shipping method(s) to add to the cart.
Then, you execute the addShippingMethodToCartWorkflow to add the shipping method(s) to the cart.
d. Retrieve and Return the Cart's Details#
Finally, you need to retrieve the cart's details and return them as the workflow's output.
Replace the TODO in the workflow with the following:
1const { data: carts } = useQueryGraphStep({2 entity: "cart",3 fields: [4 "*",5 "items.*",6 "shipping_methods.*",7 "shipping_address.*",8 "billing_address.*",9 "region.*",10 "sales_channel.*",11 "promotions.*",12 "currency_code",13 "subtotal",14 "item_total",15 "total",16 "item_subtotal",17 "shipping_subtotal",18 "customer.*",19 "payment_collection.*",20 21 ],22 filters: {23 id: cart_id,24 },25}).config({ name: "retrieve-cart" })26 27return new WorkflowResponse(carts[0])
You execute the useQueryGraphStep again to retrieve the cart's details. Since you're re-using a step, you have to rename it using the config method.
Finally, you return the cart's details. A workflow must return an instance of WorkflowResponse.
The WorkflowResponse constructor accepts the workflow's output as a parameter, which is the cart's details in this case.
In the next step, you'll create an API route that exposes the re-order functionality.
Step 3: Create Re-Order API Route#
Now that you have the logic to re-order, you need to expose it so that frontend clients, such as a storefront, can use it. You do this by creating an API route.
An API Route is an endpoint that exposes commerce features to external applications and clients, such as storefronts. You'll create an API route at the path /store/customers/me/orders/:id that executes the workflow from the previous step.
An API route is created in a route.ts file under a sub-directory of the src/api directory. The path of the API route is the file's path relative to src/api.
So, create the file src/api/store/customers/me/orders/[id]/route.ts with the following content:
1import { 2 AuthenticatedMedusaRequest, 3 MedusaResponse,4} from "@medusajs/framework/http"5import { reorderWorkflow } from "../../../../../../workflows/reorder"6 7export async function POST(8 req: AuthenticatedMedusaRequest,9 res: MedusaResponse10) {11 const { id } = req.params12 13 const { result } = await reorderWorkflow(req.scope).run({14 input: {15 order_id: id,16 },17 })18 19 return res.json({20 cart: result,21 })22}
Since you export a POST route handler function, you expose a POST API route at /store/customers/me/orders/:id.
/store/customers/me are protected by default, meaning that only authenticated customers can access them. Learn more in the Protected API Routes documentation.The route handler function accepts two parameters:
- A request object with details and context on the request, such as path parameters or authenticated customer details.
- A response object to manipulate and send the response.
In the route handler function, you execute the reorderWorkflow. To execute a workflow, you:
- Invoke it, passing it the Medusa container available in the
req.scopeproperty.- The Medusa container is a registry of Framework and commerce resources that you can resolve and use in your customizations.
- Call the
runmethod, passing it an object with the workflow's input.
You pass the order ID from the request's path parameters as the workflow's input. Finally, you return the created cart's details in the response.
You'll test out this API route after you customize the Next.js Starter Storefront.
Step 4: Customize the Next.js Starter Storefront#
In this step, you'll customize the Next.js Starter Storefront to add a re-order button. You installed the Next.js Starter Storefront in the first step with the Medusa application, but you can also install it separately as explained in the Next.js Starter Storefront documentation.
The Next.js Starter Storefront provides rich commerce features and a sleek design. You can use it as-is or build on top of it to tailor it for your business's unique use case, design, and customer experience.
To add the re-order button, you will:
- Add a server function that re-orders an order using the API route from the previous step.
- Add a button to the order details page that calls the server function.
a. Add the Server Function#
You'll add the server function for the re-order functionality in the src/lib/data/orders.ts file.
First, add the following import statement to the top of the file:
Then, add the function at the end of the file:
1export const reorder = async (id: string) => {2 const headers = await getAuthHeaders()3 4 const { cart } = await sdk.client.fetch<HttpTypes.StoreCartResponse>(5 `/store/customers/me/orders/${id}`,6 {7 method: "POST",8 headers,9 }10 )11 12 await setCartId(cart.id)13 14 return cart15}
You add a function that accepts the order ID as a parameter.
The function uses the client.fetch method of the JS SDK to send a request to the API route you created in the previous step.
Once the request succeeds, you use the setCartId function that's defined in the storefront to set the cart ID in a cookie. This ensures the cart is used across the storefront.
Finally, you return the cart's details.
b. Add the Re-Order Button Component#
Next, you'll add the component that shows the re-order button. You'll later add the component to the order details page.
To create the component, create the file src/modules/order/components/reorder-action/index.tsx with the following content:
1import { Button, toast } from "@medusajs/ui"2import { reorder } from "../../../../lib/data/orders"3import { useState } from "react"4import { useRouter } from "next/navigation"5 6type ReorderActionProps = {7 orderId: string8}9 10export default function ReorderAction({ orderId }: ReorderActionProps) {11 const [isLoading, setIsLoading] = useState(false)12 const router = useRouter()13 14 const handleReorder = async () => {15 setIsLoading(true)16 try {17 const cart = await reorder(orderId)18 19 setIsLoading(false)20 toast.success("Prepared cart to reorder. Proceeding to checkout...")21 router.push(`/${cart.shipping_address!.country_code}/checkout?step=payment`)22 } catch (error) {23 setIsLoading(false)24 toast.error(`Error reordering: ${error}`)25 }26 }27 28 return (29 <Button30 variant="primary"31 size="small"32 onClick={handleReorder}33 disabled={isLoading}34 >35 Reorder36 </Button>37 )38}
You create a ReorderAction component that accepts the order ID as a prop.
In the component, you render a button that, when clicked, calls a handleReorder function. The function calls the reorder function you created in the previous step to re-order the order.
If the re-order succeeds, you redirect the user to the payment step of the checkout page. If it fails, you show an error message.
c. Show Re-Order Button on Order Details Page#
Finally, you'll show the ReorderAction component on the order details page.
In src/modules/order/templates/order-details-template.tsx, add the following import statement to the top of the file:
Then, in the return statement of the OrderDetailsTemplate component, find the OrderDetails component and add the ReorderAction component below it:
The re-order button will now be shown on the order details page.
Test it Out#
You'll now test out the re-order functionality.
First, to start the Medusa application, run the following command in the apps/backend directory:
Then, in the Next.js Starter Storefront directory, run the following command to start the storefront:
The storefront will be running at http://localhost:8000. Open it in your browser.
To test out the re-order functionality:
- Create an account in the storefront.
- Add a product to the cart and complete the checkout process to place an order.
- Go to Account -> Orders, and click on the "See details" button.

On the order's details page, you'll find a "Reorder" button.

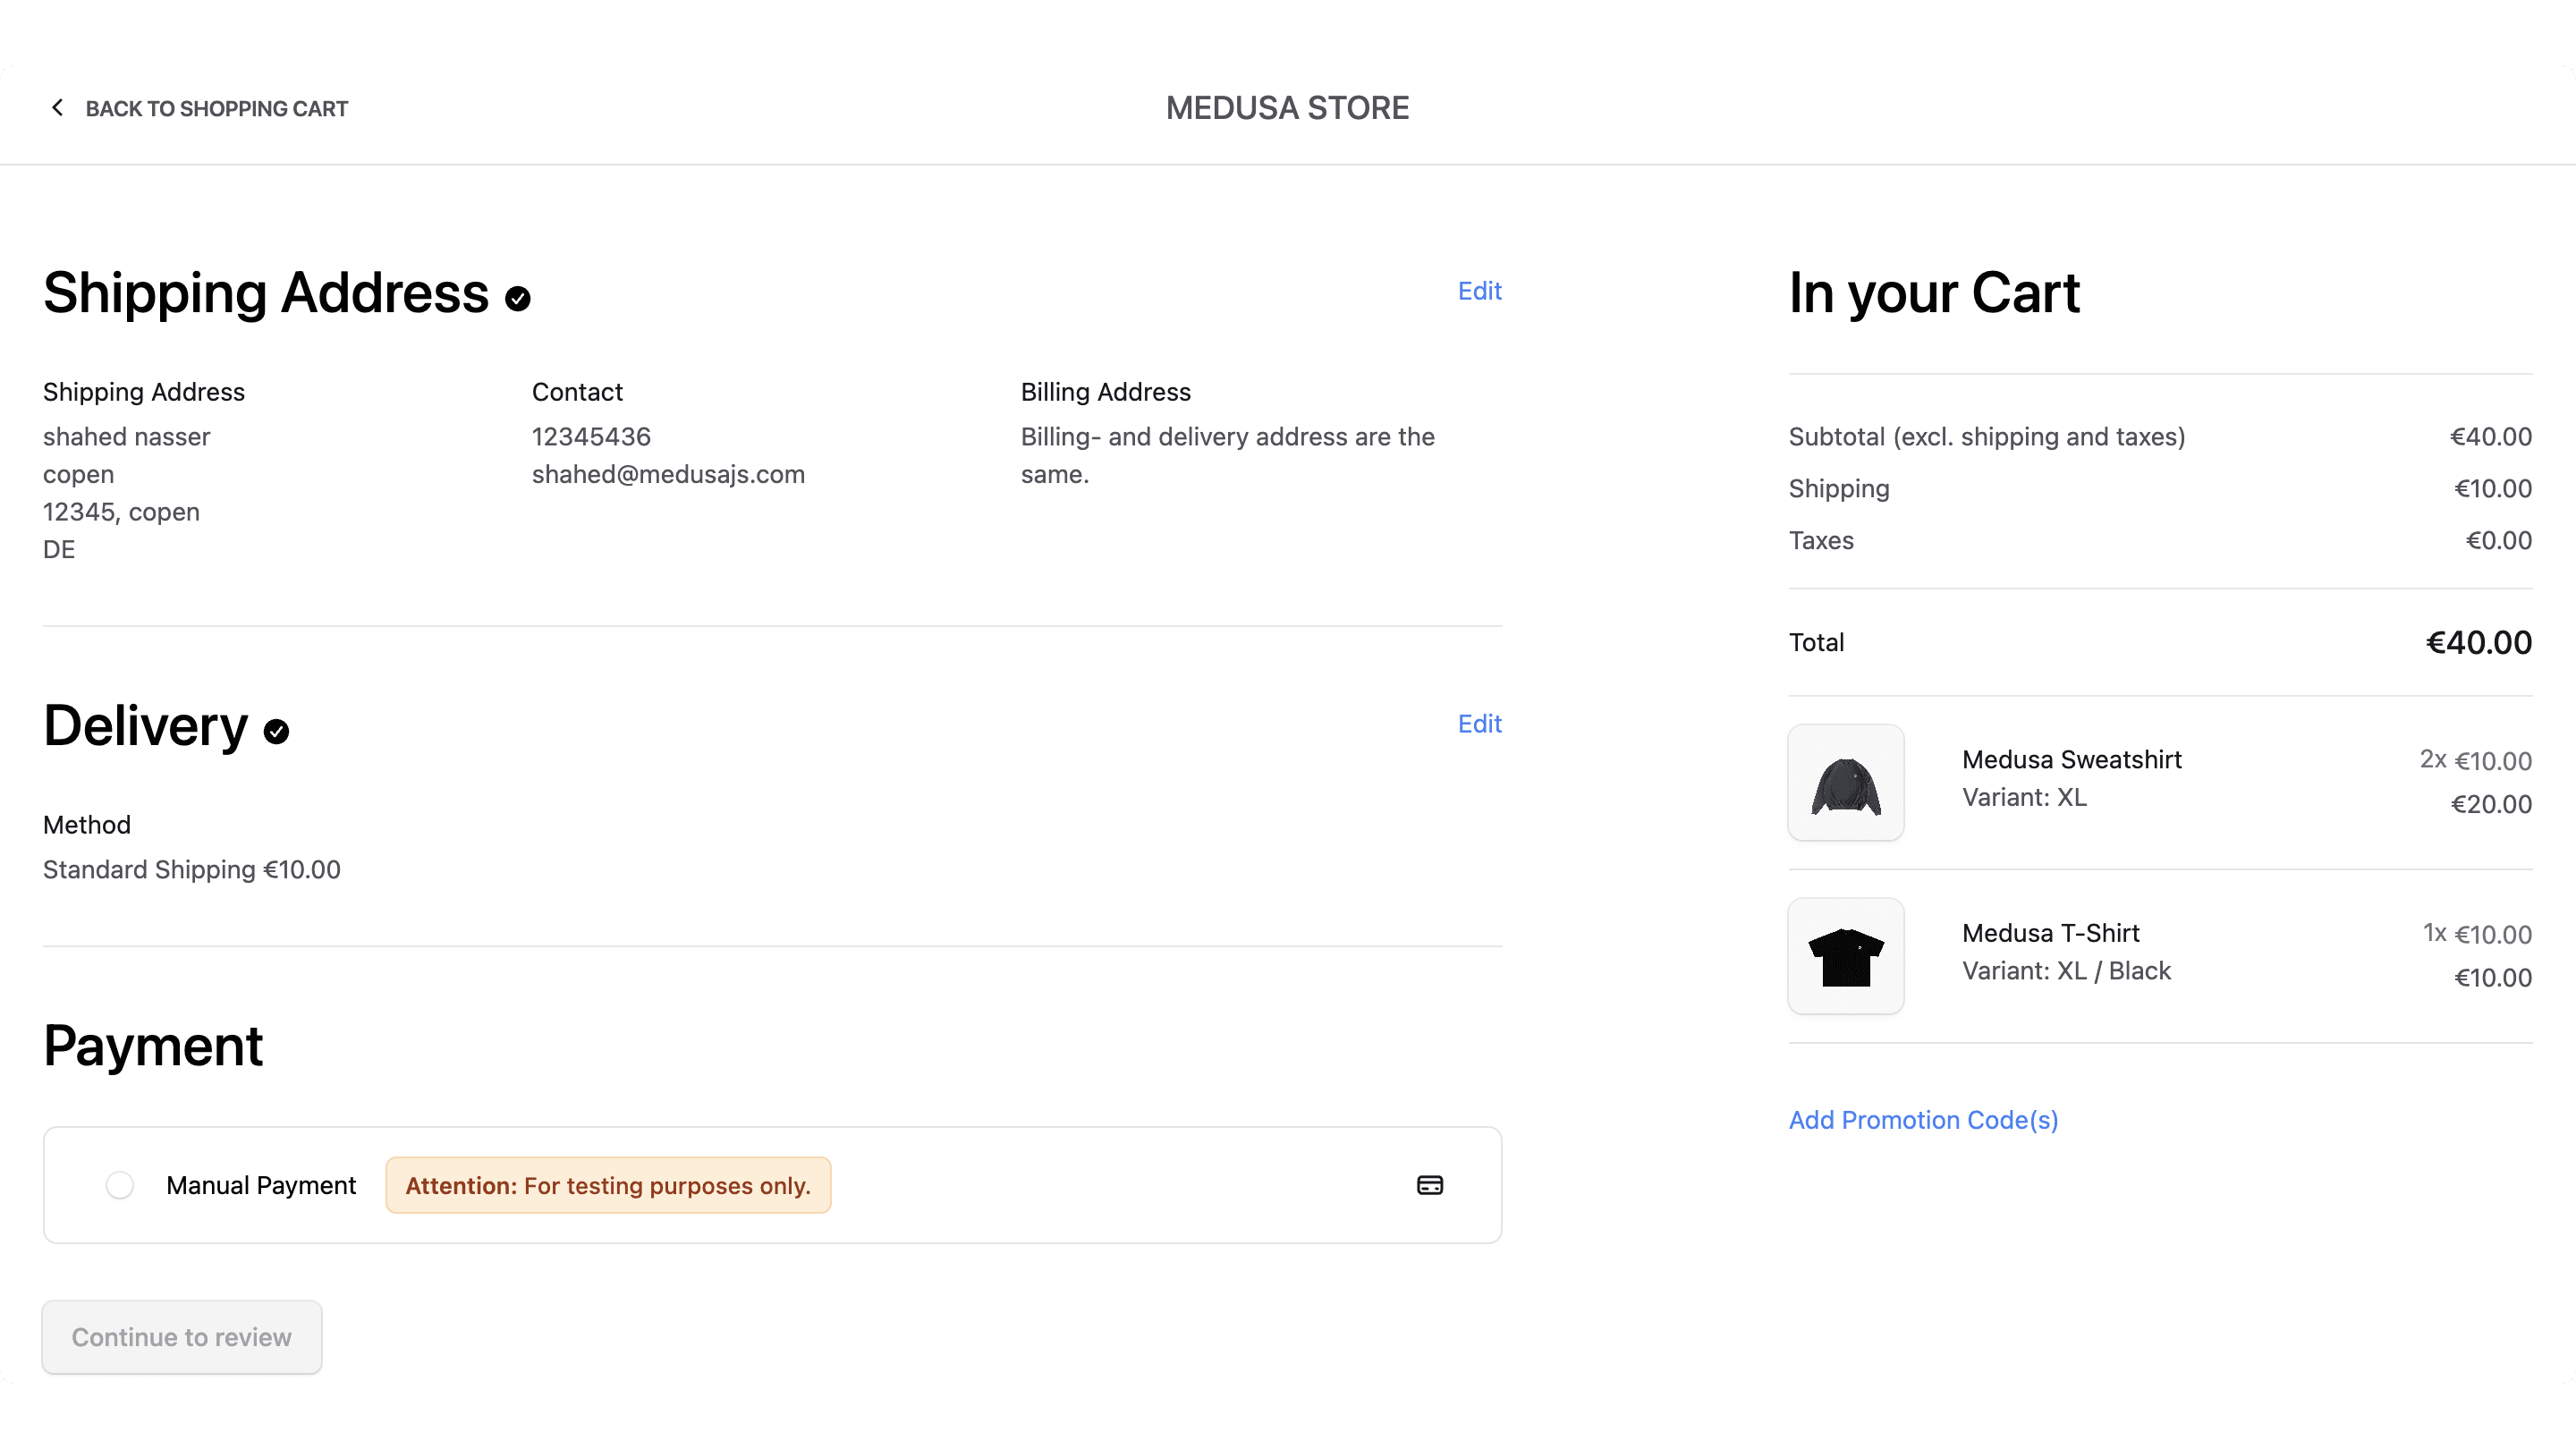
When you click on the button, a new cart will be created with the order's details, and you'll be redirected to the checkout page where you can complete the purchase.
Next Steps#
You now have a re-order functionality in your Medusa application and Next.js Starter Storefront. You can expand more on this feature based on your use case.
For example, you can add quick orders on the storefront's homepage, allowing customers to quickly re-order their last orders.
If you're new to Medusa, check out the main documentation, where you'll get a more in-depth learning of all the concepts you've used in this guide and more.
To learn more about the commerce features that Medusa provides, check out Medusa's Commerce Modules.