# Admin UI Routes
In this chapter, you’ll learn how to create a UI route in the admin dashboard.
## What is a UI Route?
The Medusa Admin dashboard is customizable, allowing you to add new pages, called UI routes. You create a UI route as a React component showing custom content that allows admin users to perform custom actions.
For example, you can add a new page to show and manage product reviews, which aren't available natively in Medusa.
You can create a UI route directly in your Medusa application, or in a [plugin](https://docs.medusajs.com/learn/fundamentals/plugins) if you want to share the UI route across multiple Medusa applications.
***
## How to Create a UI Route?
### Prerequisites
- [Medusa application installed](https://docs.medusajs.com/learn/installation)
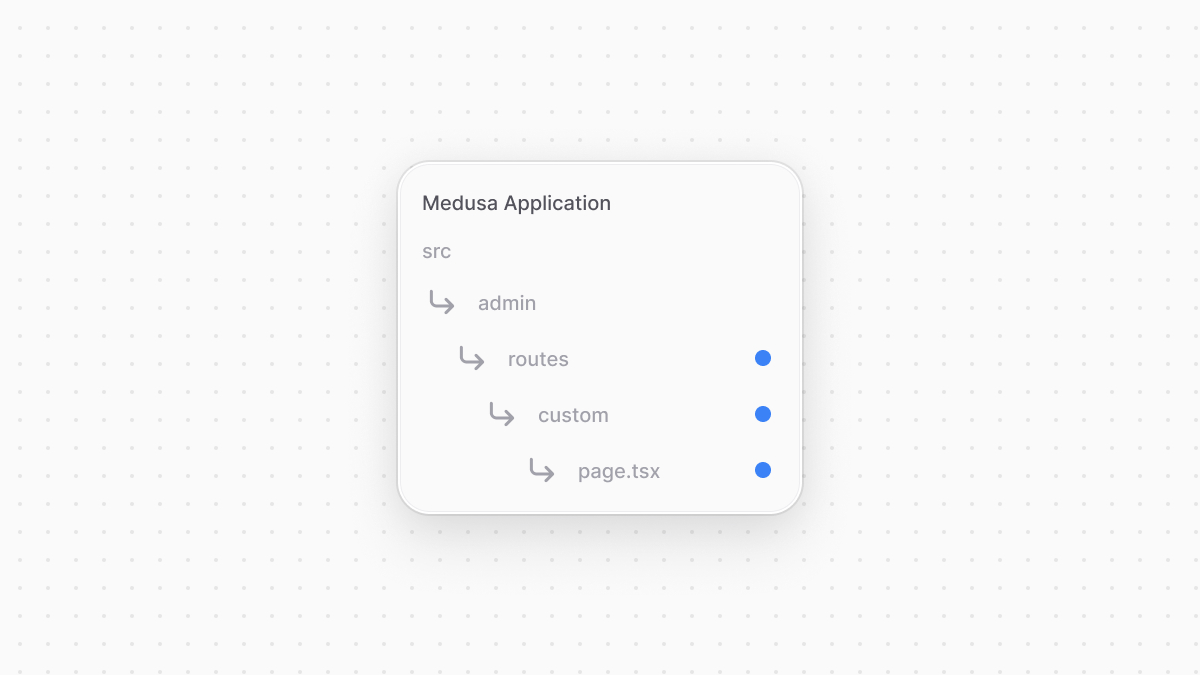
You create a UI route in a `page.tsx` file under a sub-directory of `src/admin/routes` directory. The file's path relative to `src/admin/routes` determines its path in the dashboard. The file’s default export must be the UI route’s React component.
For example, create the file `src/admin/routes/custom/page.tsx` with the following content:
```tsx title="src/admin/routes/custom/page.tsx"
import { Container, Heading } from "@medusajs/ui"
const CustomPage = () => {
return (
This is my custom route
)
}
export default CustomPage
```
You add a new route at `http://localhost:9000/app/custom`. The `CustomPage` component holds the page's content, which currently only shows a heading.
In the route, you use [Medusa UI](https://docs.medusajs.com/ui), a package that Medusa maintains to allow you to customize the dashboard with the same components used to build it.
The UI route component must be created as an arrow function.
### Test the UI Route
To test the UI route, start the Medusa application:
```bash npm2yarn
npm run dev
```
Then, after logging into the admin dashboard, open the page `http://localhost:9000/app/custom` to see your custom page.
***
## Show UI Route in the Sidebar
To add a sidebar item for your custom UI route, export a configuration object in the UI route's file:
```tsx title="src/admin/routes/custom/page.tsx" highlights={highlights}
import { defineRouteConfig } from "@medusajs/admin-sdk"
import { ChatBubbleLeftRight } from "@medusajs/icons"
import { Container, Heading } from "@medusajs/ui"
const CustomPage = () => {
return (
This is my custom route
)
}
export const config = defineRouteConfig({
label: "Custom Route",
icon: ChatBubbleLeftRight,
})
export default CustomPage
```
The configuration object is created using `defineRouteConfig` from the Medusa Framework. It accepts the following properties:
- `label`: the sidebar item's label.
- `icon`: an optional React component used as an icon in the sidebar.
- `rank`: an optional number to order the route among sibling routes. Learn more in the [Specify UI Route Sidebar Rank](#specify-ui-route-sidebar-rank) section.
The above example adds a new sidebar item with the label `Custom Route` and an icon from the [Medusa UI Icons package](https://docs.medusajs.com/ui/icons/overview).
### Specify UI Route Sidebar Rank
UI route ranking is available starting [Medusa v2.11.4](https://github.com/medusajs/medusa/releases/tag/v2.11.4).
By default, custom UI routes are added to the sidebar in the order their files are loaded. This applies to your custom UI routes, and UI routes defined in plugins.
You can specify the ranking of your UI route in the sidebar using the `rank` property passed to `defineRouteConfig`.
For example, consider you have the following UI routes:
### UI Route 1
```tsx title="src/admin/routes/analytics/page.tsx" highlights={[["18"]]}
import { defineRouteConfig } from "@medusajs/admin-sdk"
import { ChartBar } from "@medusajs/icons"
import { Container, Heading } from "@medusajs/ui"
const AnalyticsPage = () => {
return (
Analytics Dashboard
)
}
export const config = defineRouteConfig({
label: "Analytics",
icon: ChartBar,
rank: 1,
})
export default AnalyticsPage
```
### UI Route 2
```tsx title="src/admin/routes/reports/page.tsx" highlights={[["18"]]}
import { defineRouteConfig } from "@medusajs/admin-sdk"
import { DocumentText } from "@medusajs/icons"
import { Container, Heading } from "@medusajs/ui"
const ReportsPage = () => {
return (
Reports
)
}
export const config = defineRouteConfig({
label: "Reports",
icon: DocumentText,
rank: 2,
})
export default ReportsPage
```
In the sidebar, "Analytics" with the rank `1` will be added before "Reports" with the rank `2`.
#### How are UI Routes Sorted in the Sidebar
Medusa sorts custom UI routes based on their rank:
1. UI routes that have ranks are sorted in ascending order.
2. UI routes without a rank are added after the ranked UI routes.
Medusa also applies the same sorting logic to UI routes at the nested level. Learn more in the [Nested UI Routes Ranking](#nested-ui-routes-ranking) section.
### Nested UI Routes
Consider that alongside the UI route above at `src/admin/routes/custom/page.tsx` you create a nested UI route at `src/admin/routes/custom/nested/page.tsx` that also exports route configurations:

```tsx title="src/admin/routes/custom/nested/page.tsx"
import { defineRouteConfig } from "@medusajs/admin-sdk"
import { Container, Heading } from "@medusajs/ui"
const NestedCustomPage = () => {
return (
This is my nested custom route
)
}
export const config = defineRouteConfig({
label: "Nested Route",
})
export default NestedCustomPage
```
This UI route is shown in the sidebar as an item nested in the parent "Custom Route" item. Nested items are only shown when the parent sidebar items (in this case, "Custom Route") are clicked.
#### Caveats
Some caveats for nested UI routes in the sidebar:
- Nested dynamic UI routes, such as one created at `src/admin/routes/custom/[id]/page.tsx` aren't added to the sidebar as it's not possible to link to a dynamic route. If the dynamic route exports route configurations, a warning is logged in the browser's console.
- Nested routes in settings pages aren't shown in the sidebar to follow the admin's design conventions.
- The `icon` configuration is ignored for the sidebar item of nested UI routes to follow the admin's design conventions.
### Route Under Existing Admin Route
You can add a custom UI route under an existing route. For example, you can add a route under the orders route:
```tsx title="src/admin/routes/orders/nested/page.tsx"
import { defineRouteConfig } from "@medusajs/admin-sdk"
import { Container, Heading } from "@medusajs/ui"
const NestedOrdersPage = () => {
return (
Nested Orders Page
)
}
export const config = defineRouteConfig({
label: "Nested Orders",
nested: "/orders",
})
export default NestedOrdersPage
```
The `nested` property passed to `defineRouteConfig` specifies which route this custom route is nested under. This route will now show in the sidebar under the existing "Orders" sidebar item.
#### Nested UI Routes Ranking
Nested UI routes also accept the [rank](#specify-ui-route-sidebar-rank) configuration. It allows you to specify the order that the nested UI routes are shown in the sidebar under the parent item.
For example:
```tsx title="src/admin/routes/orders/insights/page.tsx"
// In nested UI route 1 at src/admin/routes/orders/insights/page.tsx
export const config = defineRouteConfig({
label: "Order Insights",
nested: "/orders",
rank: 1, // Will appear first
})
// In nested UI route 2 at src/admin/routes/orders/reports/page.tsx
export const config = defineRouteConfig({
label: "Order Reports",
nested: "/orders",
rank: 2, // Will appear second
})
```
In this example, the "Order Insights" item will appear before the "Order Reports" item under the parent "Orders" item in the sidebar.
***
## Create Settings Page
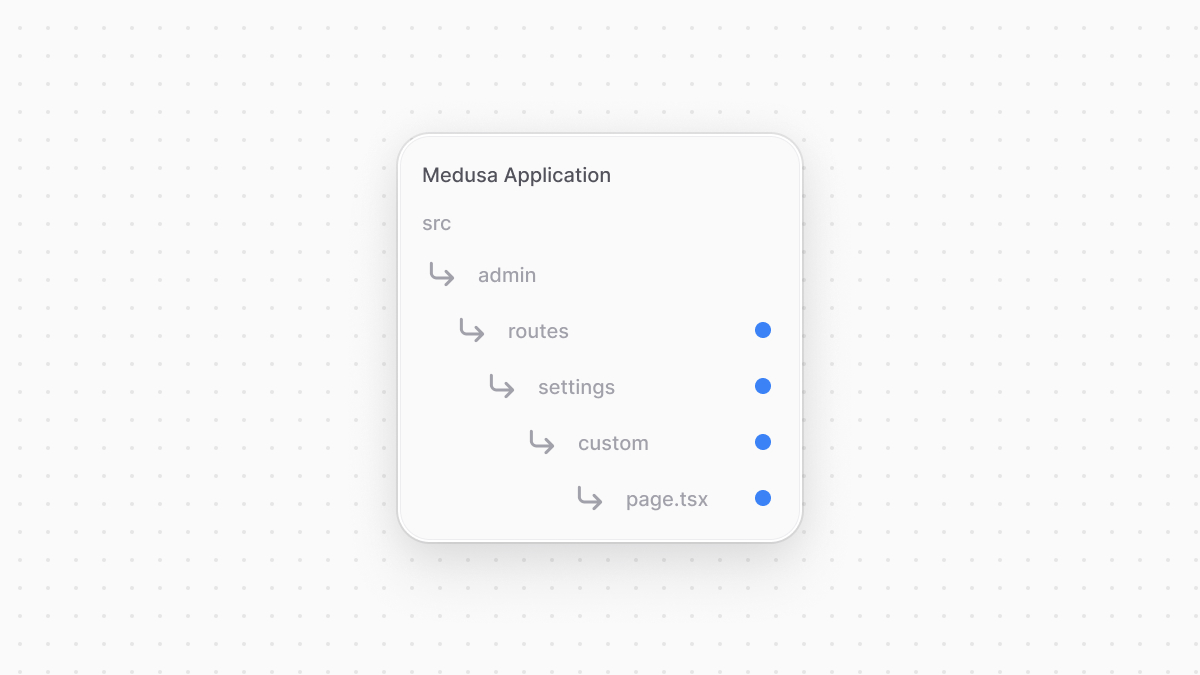
To create a page under the settings section of the admin dashboard, create a UI route under the path `src/admin/routes/settings`.
For example, create a UI route at `src/admin/routes/settings/custom/page.tsx`:
```tsx title="src/admin/routes/settings/custom/page.tsx"
import { defineRouteConfig } from "@medusajs/admin-sdk"
import { Container, Heading } from "@medusajs/ui"
const CustomSettingPage = () => {
return (
Custom Setting Page
)
}
export const config = defineRouteConfig({
label: "Custom",
})
export default CustomSettingPage
```
This adds a page under the path `/app/settings/custom`. An item is also added to the settings sidebar with the label `Custom`.
***
## Path Parameters
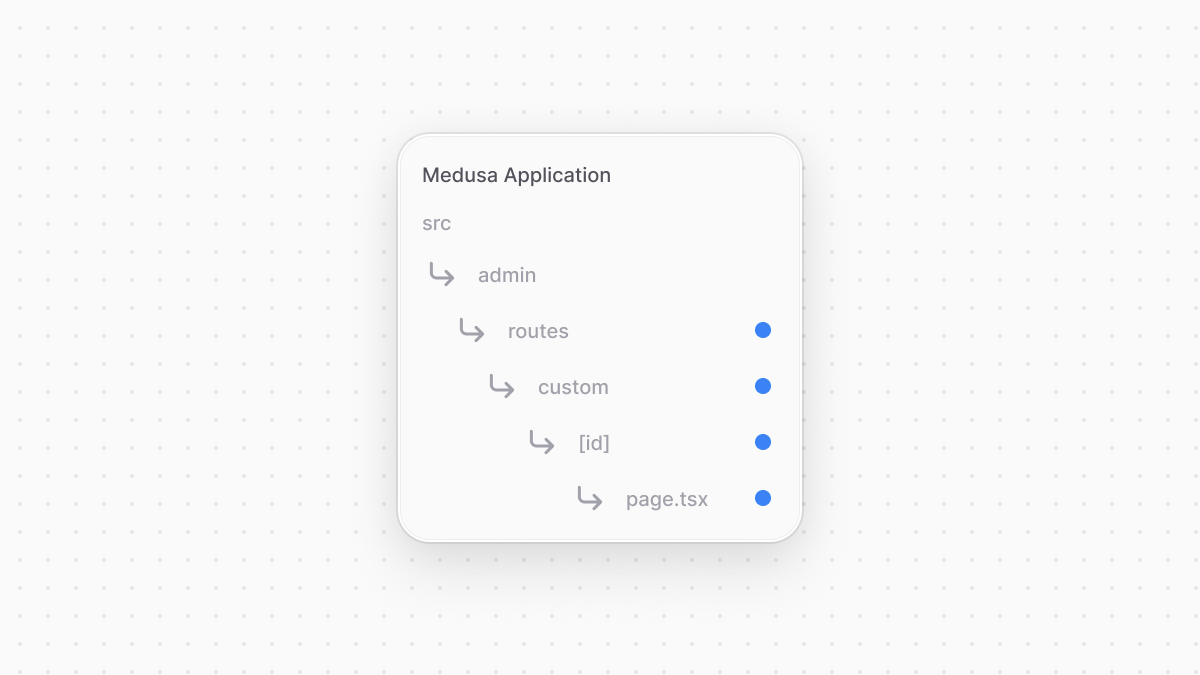
A UI route can accept path parameters if the name of any of the directories in its path is of the format `[param]`.
For example, create the file `src/admin/routes/custom/[id]/page.tsx` with the following content:
```tsx title="src/admin/routes/custom/[id]/page.tsx" highlights={[["5", "", "Retrieve the path parameter."], ["10", "{id}", "Show the path parameter."]]}
import { useParams } from "react-router-dom"
import { Container, Heading } from "@medusajs/ui"
const CustomPage = () => {
const { id } = useParams()
return (
Passed ID: {id}
)
}
export default CustomPage
```
You access the passed parameter using `react-router-dom`'s [useParams hook](https://reactrouter.com/en/main/hooks/use-params).
If you run the Medusa application and go to `http://localhost:9000/app/custom/123`, you'll see `123` printed in the page.
***
## Set UI Route Breadcrumbs
The Medusa Admin dashboard shows breadcrumbs at the top of each page, if specified. This allows users to navigate through your custom UI routes.
To set the breadcrumbs of a UI route, export a `handle` object with a `breadcrumb` property in the UI route's file:
```tsx title="src/admin/routes/custom/page.tsx" highlights={[["16", "breadcrumb", "Set the breadcrumbs of the UI route."]]}
import { Container, Heading } from "@medusajs/ui"
const CustomPage = () => {
return (
This is my custom route
)
}
export default CustomPage
export const handle = {
breadcrumb: () => "Custom Route",
}
```
The `breadcrumb`'s value is a function that returns the breadcrumb label as a string, or a React JSX element.
### Set Breadcrumbs for Nested UI Routes
If you set a breadcrumb for a nested UI route, and you open the route in the Medusa Admin, you'll see the breadcrumbs starting from its parent route to the nested route.
For example, if you have the following UI route at `src/admin/routes/custom/nested/page.tsx` that's nested under the previous one:
```tsx title="src/admin/routes/custom/nested/page.tsx" highlights={[["16", "breadcrumb", "Set the breadcrumbs of the nested UI route."]]}
import { Container, Heading } from "@medusajs/ui"
const NestedCustomPage = () => {
return (
This is my nested custom route
)
}
export default NestedCustomPage
export const handle = {
breadcrumb: () => "Nested Custom Route",
}
```
Then, when you open the nested route at `http://localhost:9000/app/custom/nested`, you'll see the breadcrumbs as `Custom Route > Nested Custom Route`. Each breadcrumb is clickable, allowing users to navigate back to the parent route.
### Set Breadcrumbs Dynamically
In some use cases, you may want to show a dynamic breadcrumb for a UI route. For example, if you have a UI route that displays a brand's details, you can set the breadcrumb to show the brand's name dynamically.
To do that, you can:
1. Define and export a `loader` function in the UI route file that fetches the data needed for the breadcrumb.
2. Receive the data in the `breadcrumb` function and return the dynamic label.
For example, create a UI route at `src/admin/routes/brands/[id]/page.tsx` with the following content:
```tsx title="src/admin/routes/brands/[id]/page.tsx" highlights={dynamicBreadcrumbsHighlights}
import { Container, Heading } from "@medusajs/ui"
import { LoaderFunctionArgs, UIMatch, useLoaderData } from "react-router-dom"
import { sdk } from "../../../lib/sdk"
type BrandResponse = {
brand: {
name: string
}
}
const BrandPage = () => {
const { brand } = useLoaderData() as Awaited
return (
{brand.name}
)
}
export default BrandPage
export async function loader({ params }: LoaderFunctionArgs) {
const { id } = params
const { brand } = await sdk.client.fetch(`/admin/brands/${id}`)
return {
brand,
}
}
export const handle = {
breadcrumb: (
{ data }: UIMatch
) => data.brand.name || "Brand",
}
```
In the `loader` function, you retrieve the brands from a custom API route and return them.
Then, in the `handle.breadcrumb` function, you receive `data` prop containing the brand information returned by the `loader` function. You can use this data to return a dynamic breadcrumb label.
When you open the UI route at `http://localhost:9000/app/brands/123`, the breadcrumb will show the brand's name, such as `Acme`.
You also use the `useLoaderData` hook to access the data returned by the `loader` function in the UI route component. Learn more in the [Routing Customizations](https://docs.medusajs.com/learn/fundamentals/admin/routing#fetch-data-with-route-loaders) chapter.
***
## Admin Components List
To build admin customizations that match the Medusa Admin's designs and layouts, refer to [this guide](https://docs.medusajs.com/resources/admin-components) to find common components.
***
## More Routes Customizations
For more customizations related to routes, refer to the [Routing Customizations chapter](https://docs.medusajs.com/learn/fundamentals/admin/routing).